

Do you want to turn your vacation photos into a beautiful photo book but don’t know where to start?
In this blog post, I’ll share 7 actionable tips on how to create a beautiful and modern vacation photo book.
From choosing the right format to organizing and selecting the best photos and designing the layout, I’ll guide you through the process of vacation photo book creation.
Without further ado, let’s get started.
5 Tips for Creating Memorable Vacation Photo Books
#1. Choose Quality Over Quantity
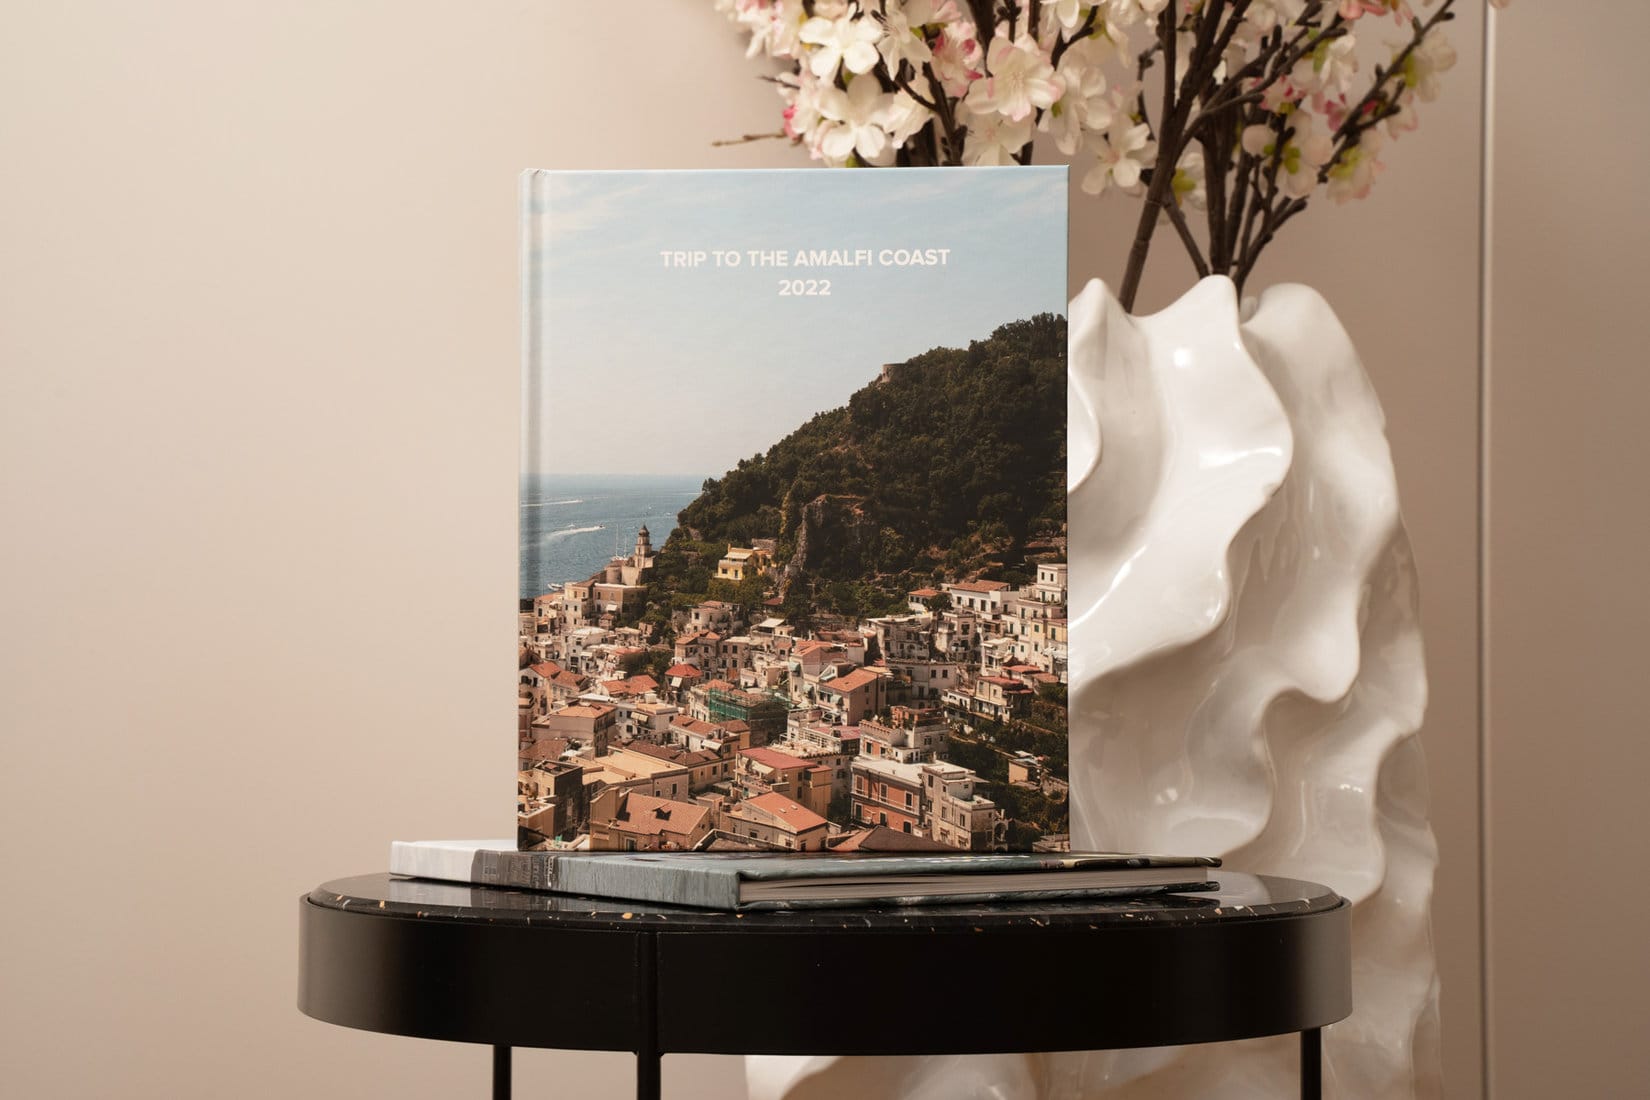
During my last trip to the Amalfi Coast in Italy, I took 629 photos, however, I only chose the best 80 photos to include in my vacation photo book!

Free Lightroom Course for Parents. Create Natural, Professional Family Photos
Learn how to make your family photos bright, natural, and frame-worthy, even if you’re brand new to Lightroom.
I firmly believe that it is very important to only select photos that that tell a story, are visually interesting, or capture special moments that you’d like to remember.
Don’t try to use all the photos that you took during your trip in your vacation photo book.
Otherwise, your vacation photo book will become overwhelming, and the end result won’t be as special.
#2. Tell a Story
When I create photo books, I always place a lot of emphasis on storytelling through photos. Each photo should have some meaning, spark memories, and tell the story of the trip or event.
Remember, one of the most important things when creating a photo book is to select a cohesive collection of photos that flow well together, rather than a collection of randomly selected photos without any storyline or meaning.

To create a storyline in your vacation photo book, I recommend organizing photos based on the timeline of your trip.
Start your photo book with one of the first photos that you took during your trip and follow along. This way, you’ll be able to easily tell the story of your journey.
You can also add short photo captions in your photo book to enhance your storytelling and provide additional context to the viewer.
If you plan to add photo captions in your photo book, I recommend you take a small pocket diary with you during your trip where you could capture your thoughts, emotions, and the most interesting moments of your journey.
#3. Unify The Look Through Consistent Photo Editing
One of the most important things when creating photo books for me is to ensure that all of my photos have a unified look and feel.
To create a consistent look throughout my photo books I normally use the color-grading tool in Adobe Lightroom to adjust the warmth of each photo.
This allows me to create one common property between most of the photos in the book and make sure that they look and feel cohesive.
If you want to learn how to edit your vacation photos in Adobe Lightroom, simply enter your email address below and you will automatically receive an email with the link to the video where I show the exact workflow process that I follow when editing photos in Lightroom.
#4. Keep Your Photo Book Layout Simple
As a person who loves minimalism, I always try to keep the layout of my photo books as simple as possible and let the photos speak for themselves.
As a matter of fact, I only use two layout formats in all of my photo books:
- one photo per page
- one photo per spread
When organizing my photo books, I try to follow one very simple rule of thumb: insert a full-spread photo every 3-5 pages to break the monotony of single-page photos.

By adding full-spread photos every 3-5 pages I make sure that my photo book looks interesting and visually appealing.
Try to avoid using complicated photo collages with a large number of photos as they can be overwhelming and take away the focus from a single photo that can tell an entire story.
Also, if you are planning to use photo captions or other text elements, use only one font and choose it wisely as the wrong font can make your photo book look unprofessional.
I recommend using fonts such as Open Sans, Helvetica, or Montserrat.
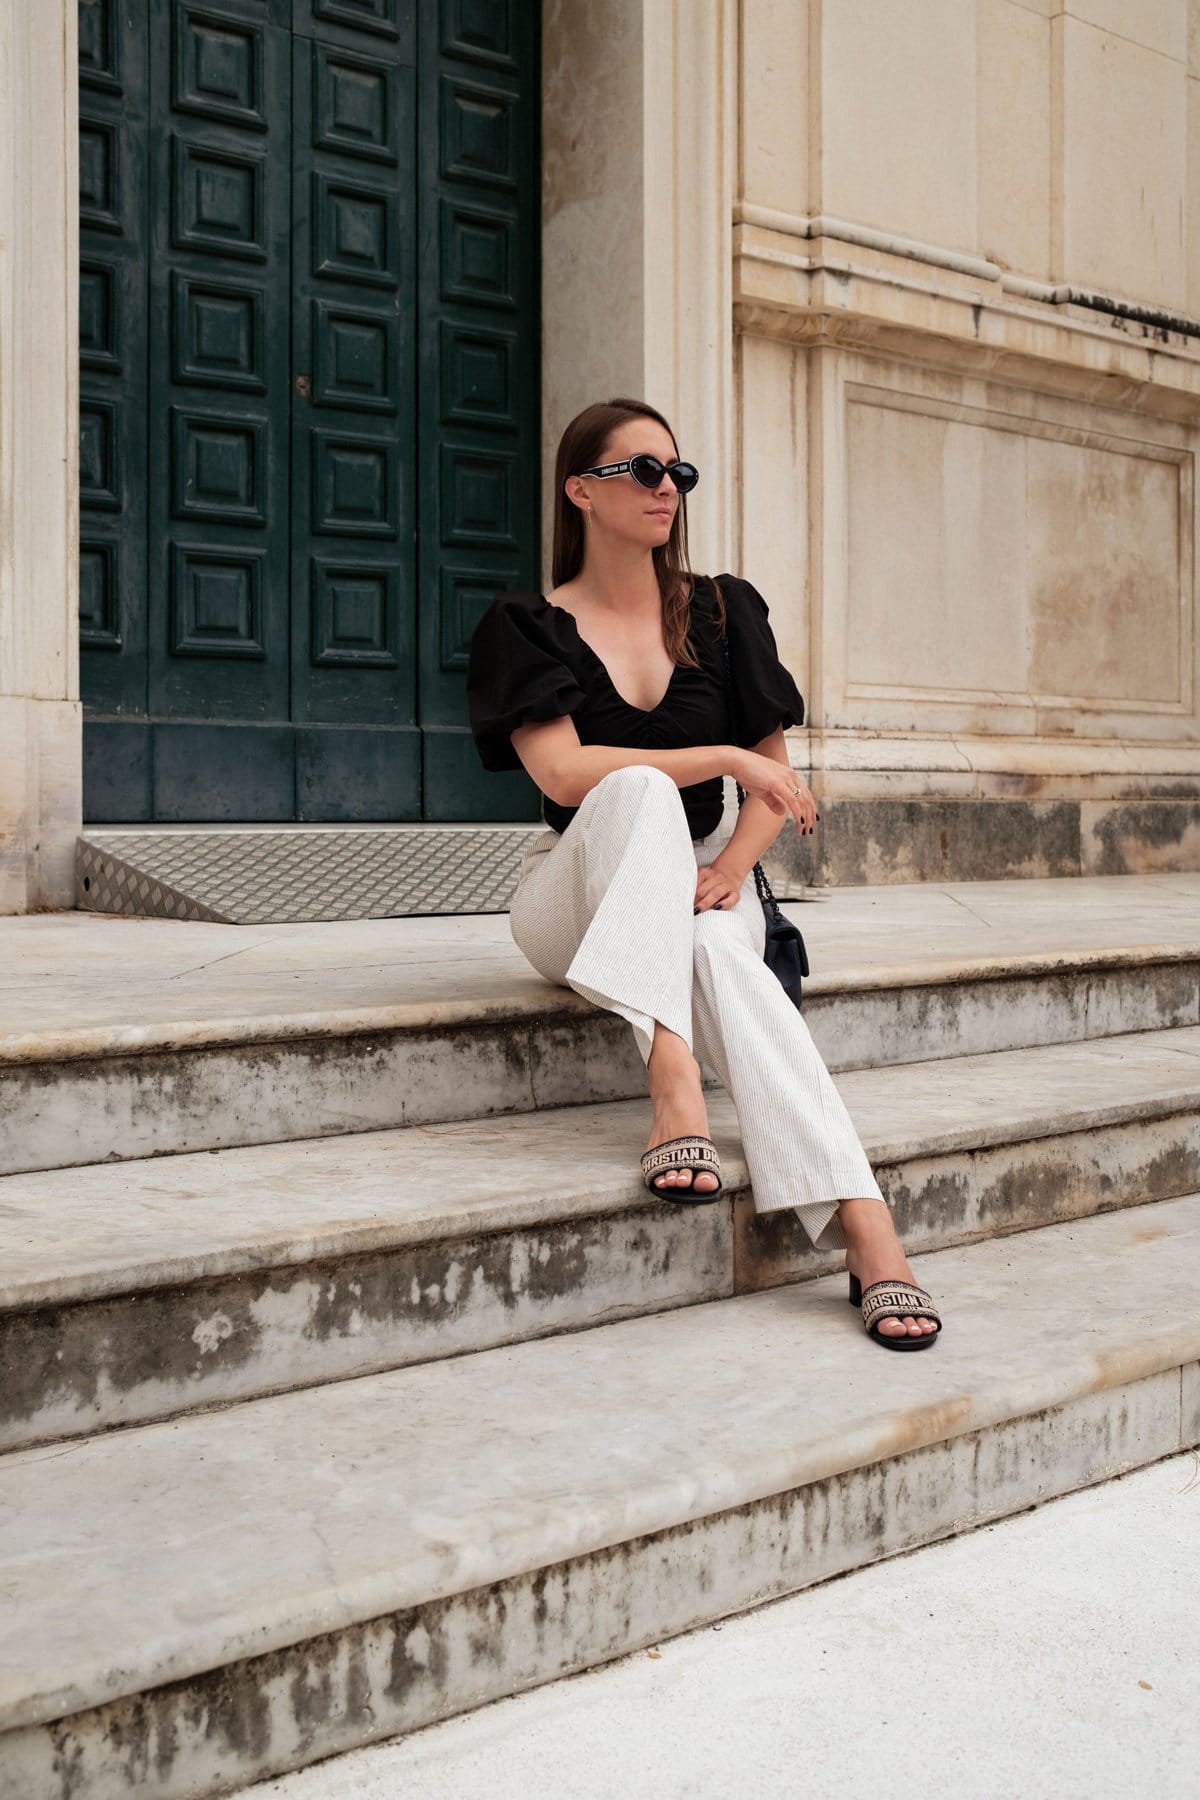
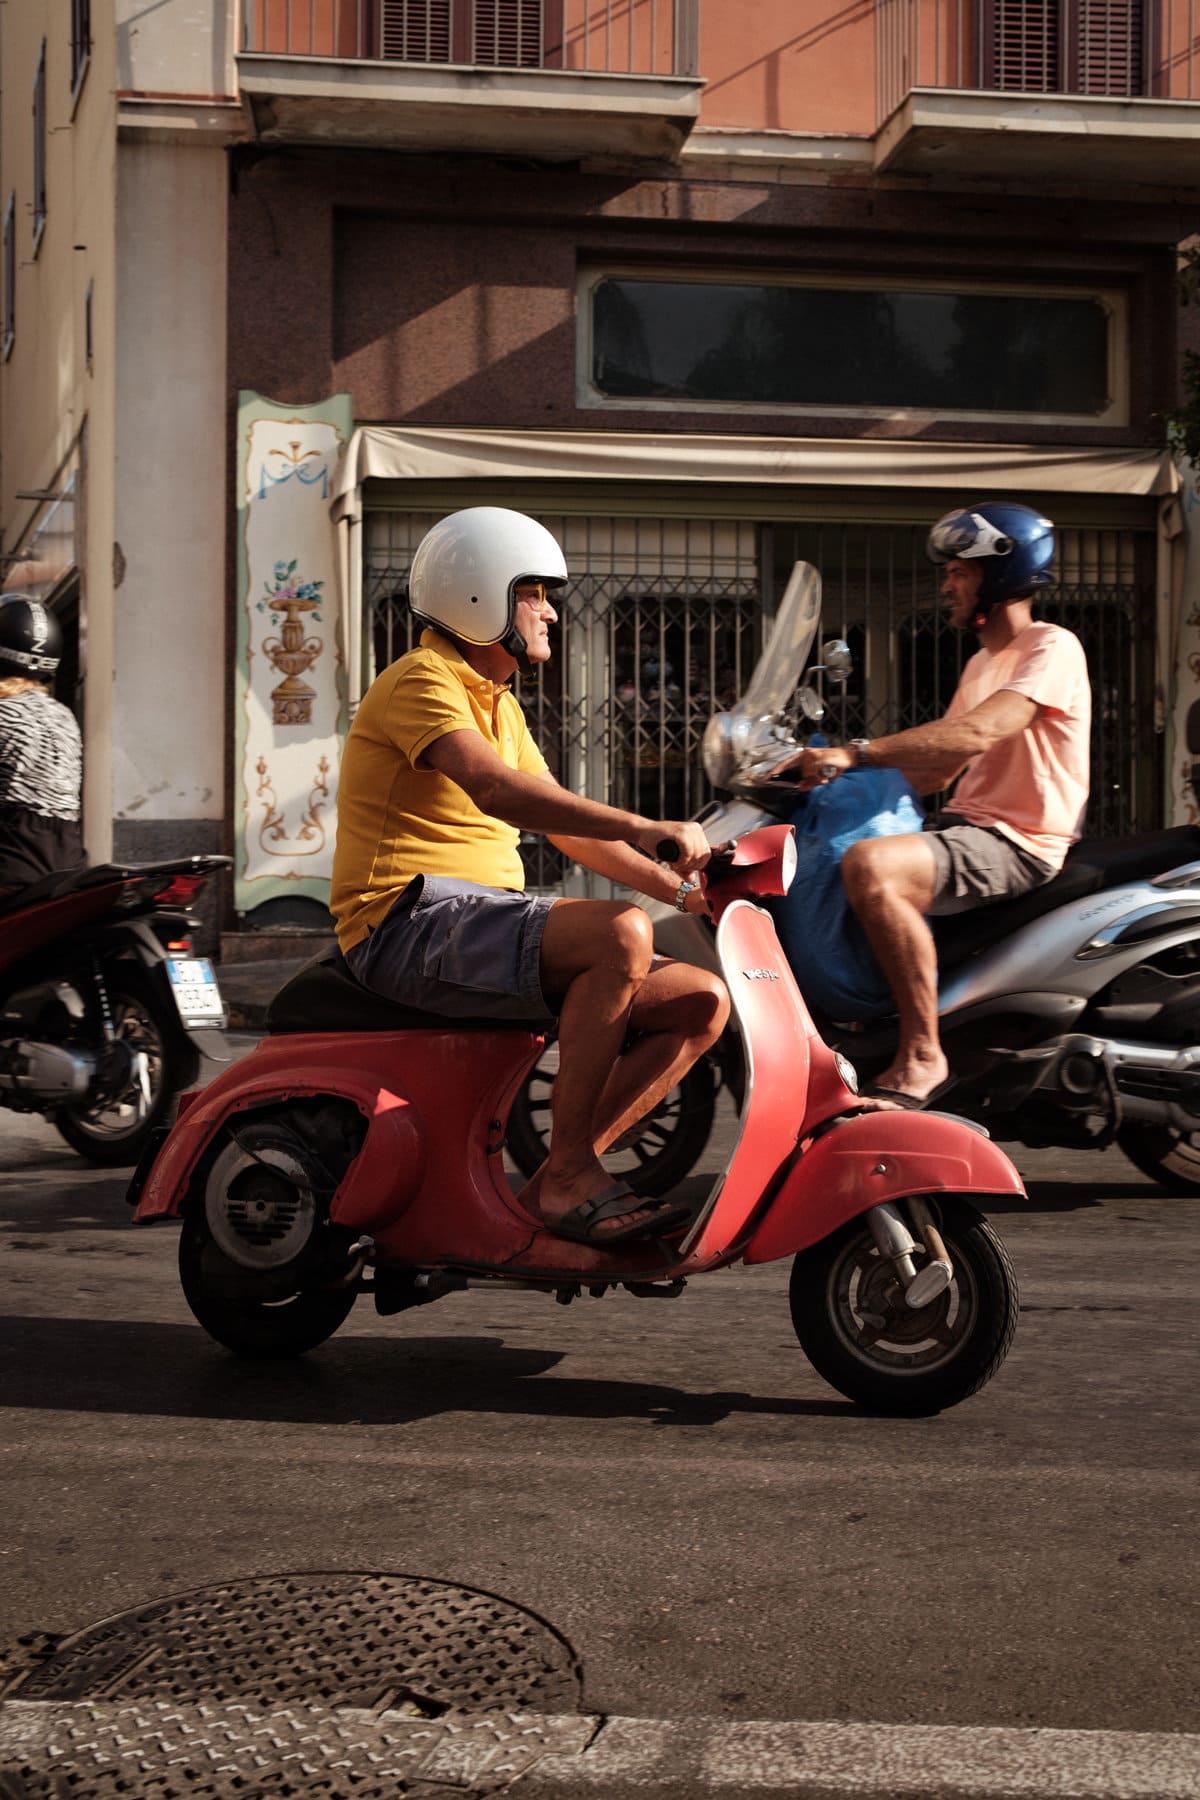
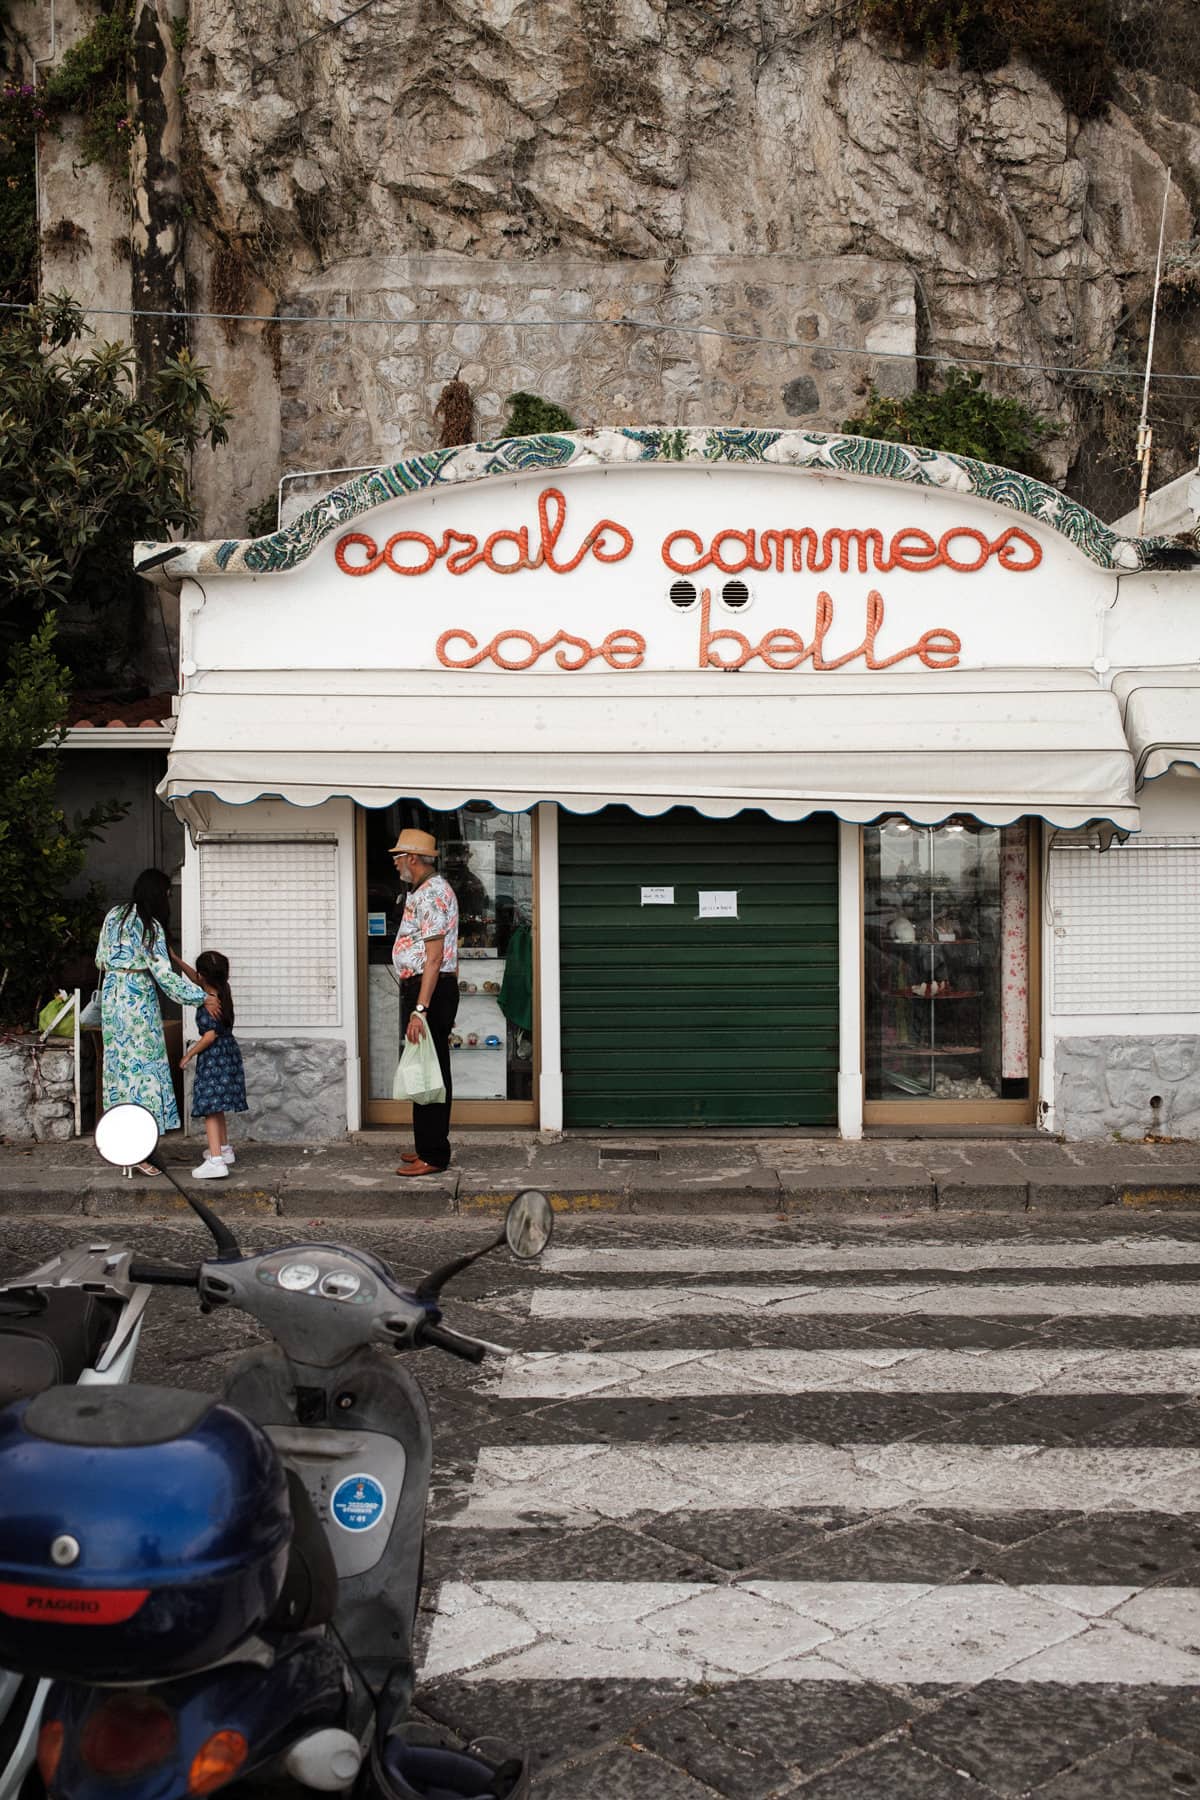
#5. Add Interest Through a Mix of Photo Styles
To add interest and dynamics to your vacation photo book, I recommend you combine different types of photos together.
For example, I shoot a lot of natural light portraits during my vacations, but I also try to take some landscape photos and photos of various details that catch my attention, such as interesting doors, statues, buildings, signs, pots, flowers, stairs, etc.
Free Lightroom Course for Parents. Create Natural, Professional Family Photos
Learn how to make your family photos bright, natural, and frame-worthy, even if you’re brand new to Lightroom.

This way, I am able to mix and match various photos in my photo books to create a more interesting and engaging book compared to a photo book filled only with family portraits or landscape photography.
My Go-To Online Photo Book Service
I’ve used several different online photo book services, but I found the one that I really like and that is Blurb.

What I like the most about Blurb is the quality of their photo books. It is absolutely amazing, the paper and the printing quality are a lot better than in other cheaper photo book services that I’ve used in the past.
They also offer a dedicated software called BookWright that you can use to create custom photo books.
I found this application to be quite easy to use and there are a lot of useful tools such as automatic photo layout, that makes it very easy for anyone to create a professional-looking photo book.
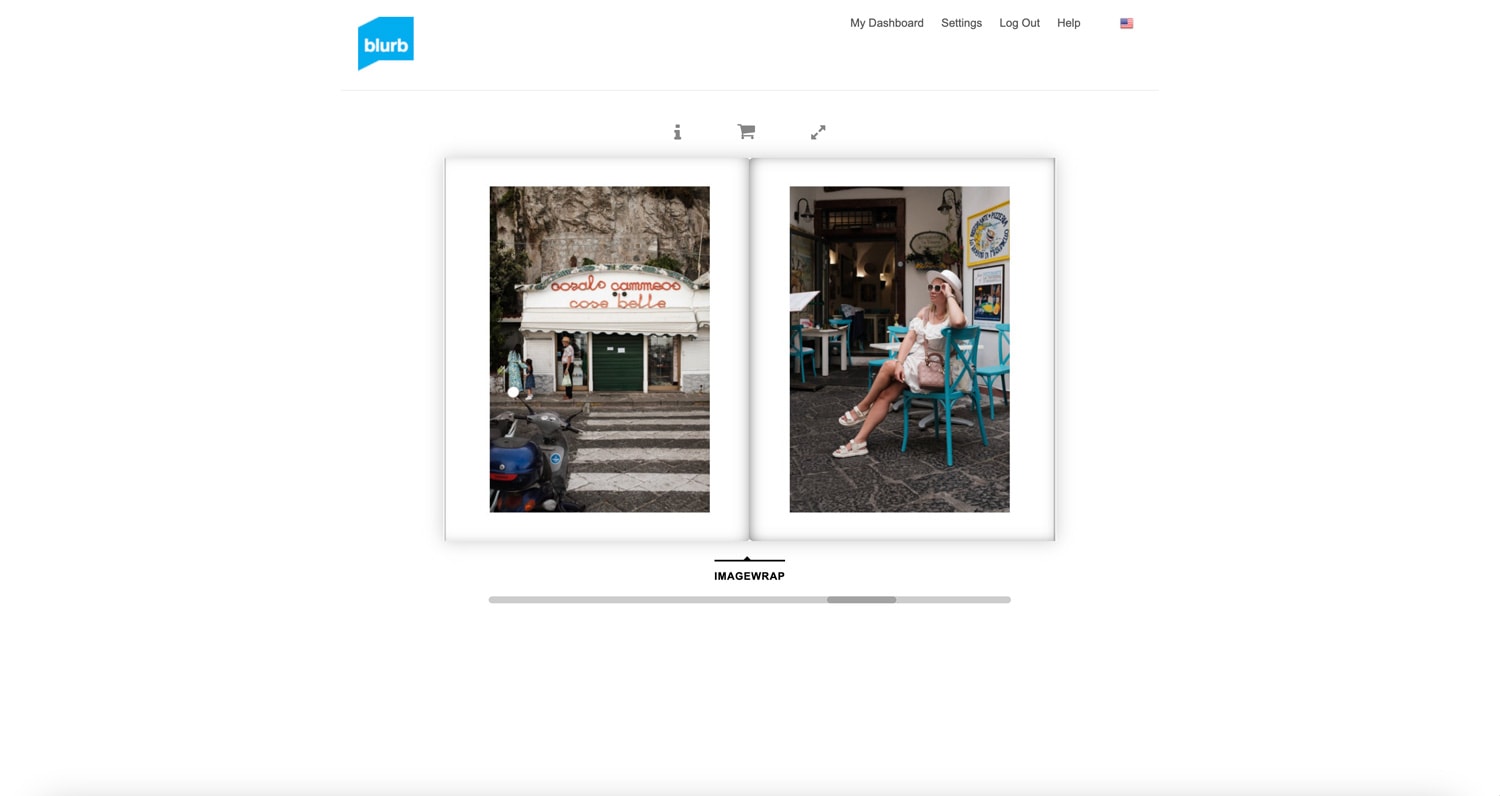
Also, I find it very handy that after completing organizing your photos inside of the BookWright application, it automatically renders your photo book and provides a link after completion where you can preview how your photo book will look.
Finally, Blurb offers its services in Europe, which is important for me, because I live in Riga, Latvia. From my experience, it normally takes around 5 working days to receive your photo book after placing an order in Europe.
Frequently Asked Questions About Photo Book Creation
What is The Difference Between a Photo Album and a Photo Book?
A photo album contains photos that are manually placed in an album with protective plastic sheets or with photos attached to an album’s pages with adhesive stickers/tabs.
A photo book, on the other hand, is a professionally bound and printed and bound book where photos are printed on the actual paper inside of the book.
Photo books are normally used for special occasions, such as weddings, graduations, or family vacation trips.
Photo books are more expensive than traditional photo albums and they have more customization options: a variety of different paper styles, such as glossy or matt, different photo book sizes, an option to add photo captions, etc.
What is the Best Way to Select Photos for a Photo Book?
When selecting photos for your photo book, the most important thing to keep in mind is storytelling.
I recommend selecting only those photos that evoke specific emotions and memories from your trip, rather than selecting every single photo that you shot during your vacation.
Also, I suggest selecting photos with a variety of different styles (portraits, landscapes, and various details, such as statues, buildings, bridges, flowers, etc.) for each vacation trip to create an interesting and engaging photo book.
Finally, try to select only the best quality photos for your book because low-resolution photos can ruin the overall look and feel of your vacation photo book.
Is Glossy or Matte Paper Better for a Photo Book?
The matte paper gives photos a more natural and soft look compared to glossy paper.
Also, unlike glossy paper, matte paper absorbs reflections, which makes it much easier to view photos in your photo book without any distractions.
On the other hand, the glossy paper provides richer colors and higher contrast compared to matte paper in photo books.
I personally use premium matte paper offered by Blurb online printing service for all of my photo books.

The quality of Blurb’s premium matte paper is really great, the weight of the paper feels very premium and photos also look vibrant and clear.
What Is the Best Size for a Vacation Photo Book?
The best size for a vacation photo book depends on how many photos you plan to add and the type of photos in your book (portraits, landscapes, etc.).
For example, my vacation photo books contain mostly portraits (~70%), some landscape photos (~20%) and some photos of various buidlings, statues, etc (~10%).
I use a standard portrait 8×10 in. (20×25 cm) size for all of my photo books.

I find this size to be ideal for vacation photo books because it offers enough space to show your photos in detail and photo books in this size also look great in interior as a coffee table book.
On the other hand, if you plan to add more landscape or panoramic photos in your photo book, then a larger landscape 13×11 in. (33×28 cm) size might be a better choice for you.
The online photo book service that I use offers five different photo books sizes to choose from:
- Small Square: 7×7 in. (18×18 cm)
- Standard Portrait: 8×10 in. (20×25 cm) – my personal preference
- Standard Landscape: 10×8 in. (25×20 cm)
- Large Landscape: 13×11 in. (33×28 cm)
- Large Square: 12×12 in. (30×30 cm)

How to End a Vacation Photo Book?
Just like the beginning of your vacation photo book is important for setting the tone and mood, a great ending is also essential for creating a memorable vacation photo book.
Here are a few ideas for ending vacation photo books in a unique and creative way:
- Create an afterword with a short summary of your vacation, including the highlights, memorable moments and most exciting experiences. Quick tip: take a small notebook with you on vacation to capture your emotions and most memorable moments during your trip.This will help you create a much more emotionally rich vacation photo book as you’ll be able to add captions to your photos and truly immerse the viewer into your vacation journey.
- Add a map of your vacation to the end of the book and mark all the places that you’ve visited. This will be a great way to wrap up your vacation photo book and create an interesting visual summary of your vacation experience.
- Include a final vacation selfie or group picture of everyone who was on vacation with you to the end of your vacation photo book. This will be a great reminder of all the fun memories that were created during this vacation trip.
- Add a collage of all the photos in the photo book at the end of your vacation photo book. This will create a nice summary about your vacation.
What Is Better, a Hardcover or a Softcover for a Photo Book?
A hardcover photo book is much more durable than a softcover, so it’s the perfect choice if you plan to keep your vacation photo book for many years to come.
On the other hand, a softcover photo book is a budget-friendly option.
So it’s the perfect choice if you plan to print multiple photo books from your recent trips or maybe you plan to give a copy of your vacation photo book as a present to your friends or family members who you traveled with.
I personally prefer to order hardcover photo books because they feel and look like professional books, which adds to the overall experience.
I also think that hardcover feels and looks more premium compared to softcover photo books.
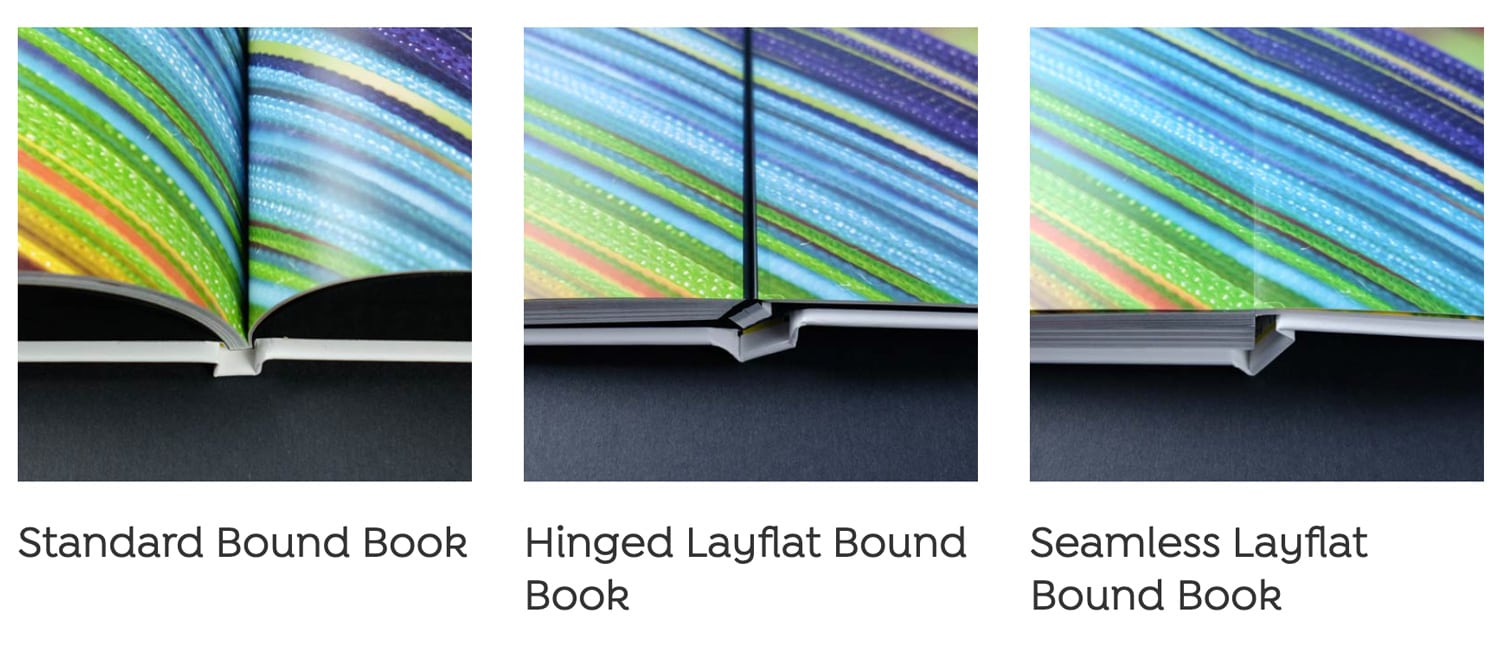
What Is a Layflat Photo Book?
A layflat photo book is a type of photo book that features seamless two-page spreads, which means that when you open the book, the pages will lie completely flat with no gutter in between.
This makes layflat photo books ideal for situations when you want to print photos across two facing pages.
Layflat photo books are great for vacation photo books because they allow you to show large-scale photos in full detail without any disruption in the middle of the photo.
Online photo book services such as Blurb offer a wide range of layflat photo book sizes and formats that you can choose from depending on your needs.
Final Thoughts
Creating vacation photo books is an amazing way to document and preserve your vacation memories for years to come.
With the right selection of photos, paper type and size, you can create a vacation photo book that looks professional and timeless.
I hope that this blog post has been helpful for you and gave you an inspiration for you own hardcover travel photo book.
If you still have questions about how to create travel photo books, feel free to reach out to me via email hi [at] ohmycamera.com, Twitter, Facebook or YouTube.
Related articles:
- Vacation Memories: How Many Photos to Take for a Photo Book
- From Sunrise to Sunset: Natural Light Portrait Photography Guide
- Family Holiday Photography in Italy with FUJIFILM X100V
- From Mosques to Markets: My 2-Week Photographic Trip to Istanbul
- Efficiency and Style: Streamline Your Editing Workflow with Lightroom Presets
- Travel Photography Tips for Beginners: 8 Pro Insights