

As a father and self-taught photographer, I’ve learned the importance of capturing life’s transient moments. When my son Nikita was born, I was driven into photography, motivated by my childhood with few photographic memories.
Now, with a camera, I seize every chance to document my son’s adventures. In this guide, I’ll share my insights on the best camera settings for child photos, helping you freeze those priceless moments into perfect snapshots.
Understanding Basic Camera Settings for Child Photography
Capturing the energetic essence of children demands a mastery of your camera’s basic settings. The interplay between ISO, Aperture, and Shutter Speed is crucial in seizing those lively moments in various outdoor light conditions. Let’s break down these pillars of photography:
1. ISO: Sensitivity to Light
In the realm of photography, ISO is akin to the ‘volume’ of your camera sensor’s sensitivity to light. In outdoor settings, abundant light allows you to keep the ISO low, minimizing the “noise” or grain in your pictures, ensuring crisp, clear images that do justice to your child’s radiant smile.
For example, in the photo below, the lighting conditions were excellent, so I opted to set my ISO at 320. You might wonder, why not ISO 100? The primary reason I used ISO 320 is that my shutter speed was set to 1/320 of a second, meaning less light was reaching my camera’s sensor. I needed to slightly increase my ISO to balance the exposure for this photo.

The Best Aperture Settings for Capturing Child Photos:
- Stick to a lower ISO 100-200 when you have plenty of natural sunlight, reducing noise for crystal clear, high-quality images.
- Slightly increase to ISO 400-800 to compensate for lower light levels without introducing too much noise, maintaining smooth image quality.
- Opt for ISO 800-1600 to capture clearer images in areas with less light, such as when your child is playing under trees or during sunset hours.
- When you need fast shutter speeds in dimmer conditions (e.g., evening sports), ISO settings might go as high as 6400. Be mindful that this may introduce noise.
If you want to learn more about ISO and how it impacts your photographs, especially in different lighting conditions, I invite you to read my in-depth article on ISO settings.
Free Lightroom Course for Parents. Create Natural, Professional Family Photos
Learn how to make your family photos bright, natural, and frame-worthy, even if you’re brand new to Lightroom.
2. Aperture: Depth of Field’s Gatekeeper
Aperture doesn’t just regulate light; it’s your creative ally in controlling the depth of field and achieving that beautiful, artistic blur in the background known as ‘bokeh.’ This effect helps your subject stand out, perfect for capturing your child’s candid smiles or deep concentration in crystal clear focus.

If you’re interested in capturing close-up portraits of your child with stunning bokeh, you’ll need a ‘fast lens.’ A fast lens has a wide maximum aperture (small f-number, like f/1.4 or f/1.8), allowing for quicker shutter speeds even in lower light, and contributing to a more pronounced bokeh effect. These lenses are ideal for isolating your subject beautifully while maintaining sharp, in-focus details.
Choosing the right lens for child photography can significantly enhance your photos’ quality and the bokeh effect. I recommend reading the following guides to find the best lens for your needs:
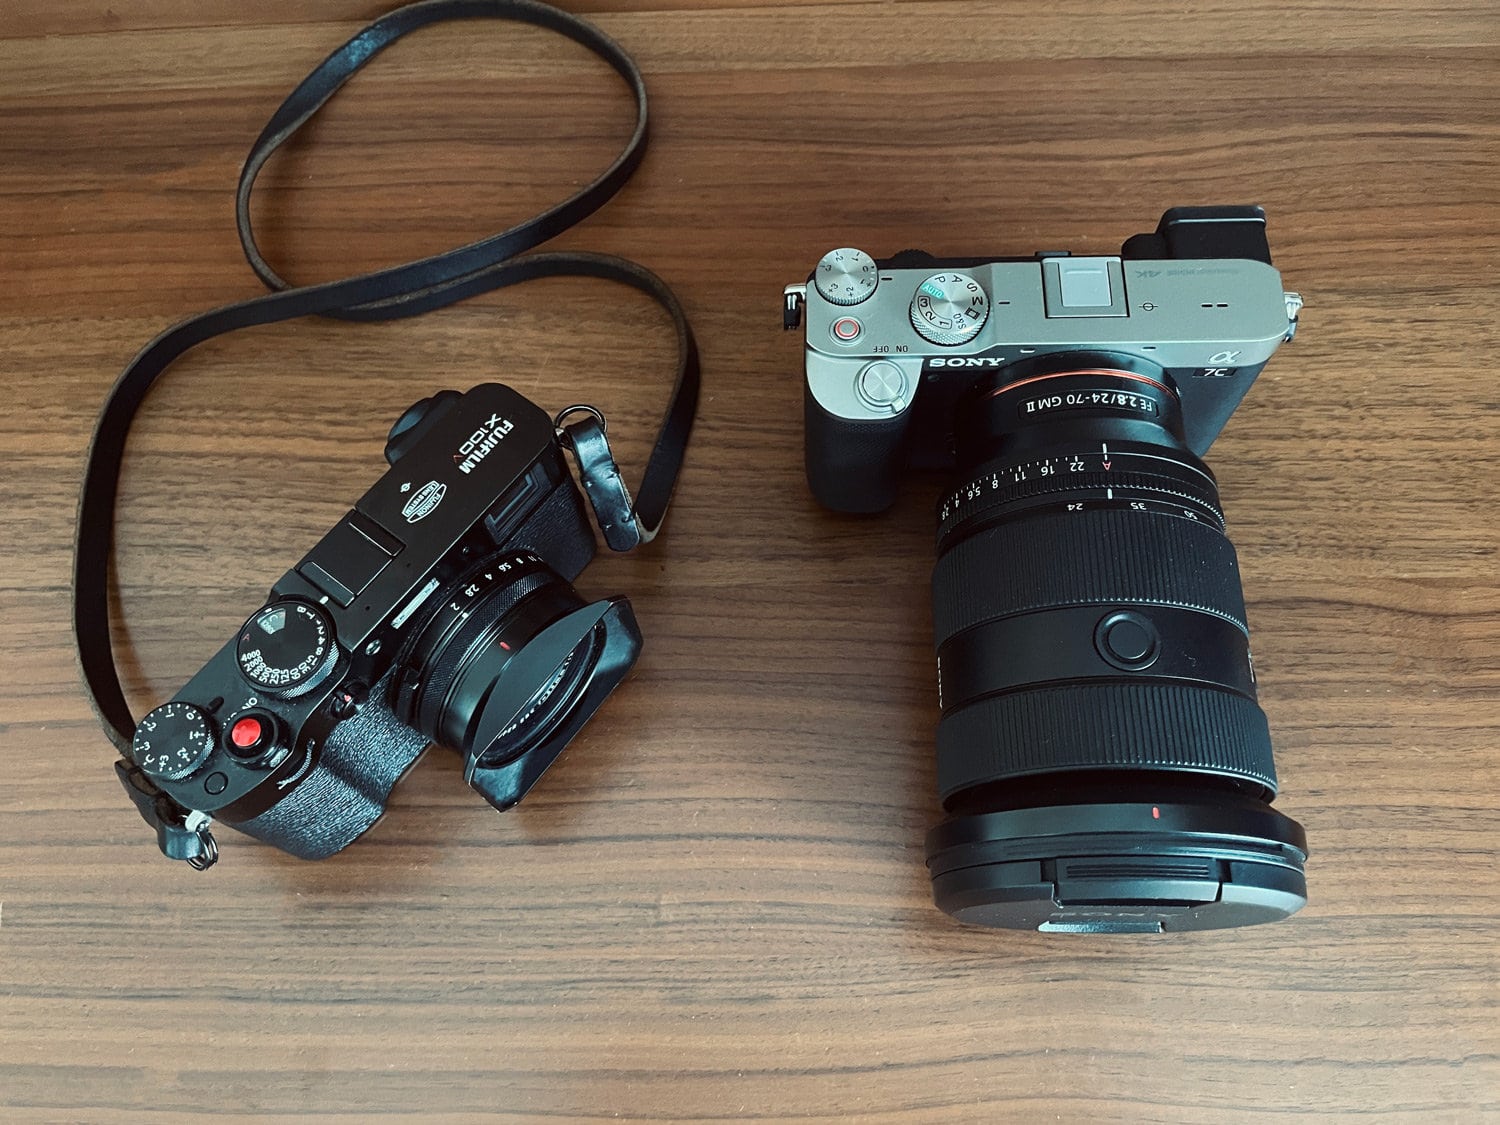
Sidenote: I am personally a Sony and Fujifilm user. I own two cameras: the Fujifilm X100V (my go-to camera for everyday moments) and the Sony 7C, which I use mostly for professional work. Quite recently, I purchased a new lens: the Sony 27-70mm 2.8 G Master II, which is extremely versatile and captures stunning photos with beautiful bokeh. Both of the photos above of my son were taken with this zoom lens.
The Best Aperture Settings for Capturing Child Photos:
- Use a wide aperture (small f-number, e.g., f/1.4 to f/2.8) for portraits to keep your child in sharp focus while creating a soft, blurred background (bokeh) that reduces distractions.
- Opt for a narrower aperture (larger f-number, e.g., f/5.6 to f/8) when capturing a group of children or family photos to ensure everyone is in focus.
- If the scenery is as important as the subject, such as a child in a beautiful garden, use an even smaller aperture (e.g., f/11 to f/16) to capture the details of the environment.
- For photos of children at play, a balance is needed. An aperture around f/4 to f/5.6 should maintain focus on the moving child while still providing some background blur for depth.
I encourage you to explore my in-depth article about Aperture. It’s designed to broaden your knowledge and sharpen your skills, helping you not only with child photography but also with capturing the beauty of all your family’s moments. Also, here’s a great article with seven exercises to help you understand the aperture in photography.
3. Shutter Speed: Freezing or Flowing Time
Shutter speed is the setting for capturing motion clearly. It dictates how long your camera’s sensor is exposed to light. Fast shutter speeds (e.g., 1/1000 of a second) freeze motion, essential for capturing the peak of the action, like a triumphant leap or a mid-spin giggle during play.
For example, in the photo below, my son Nikita was playing with his toy plane in the park, and I decided to capture him throwing the plane at me. I set my shutter speed to 1/400 of a second to freeze the moment. I am quite pleased with the result, although the lighting conditions that day weren’t the best. 😉

The Best Shutter Speed Settings for Capturing Child Photos:
- As a rule of thumb, to avoid camera shake, don’t go below 1/60s unless you’re aiming for artistic blur or using a tripod
- When your child is relatively still, for a posed portrait or a candid moment of calm, a shutter speed of 1/125s to 1/200s works well, balancing natural light and sharpness.
- Use a fast shutter speed of 1/500s to 1/1000s to capture quick movements clearly without blur, perfect for action shots like running, jumping, or swinging.
If you want to learn more about Shutter Speed and how it impacts your photographs, I highly recommend you to check out my in-depth article about shutter speed in photography.
Free Lightroom Course for Parents. Create Natural, Professional Family Photos
Learn how to make your family photos bright, natural, and frame-worthy, even if you’re brand new to Lightroom.
Balancing ISO, Aperture, and Shutter Speed for The Perfect Exposure
Achieving the perfect exposure in photography is akin to learning how to drive. In the beginning, you’re acutely aware of every decision, from adjusting the mirrors to shifting gears. Similarly, balancing ISO, Aperture, and Shutter Speed — the “Exposure Triangle” — initially requires deliberate thought.
However, with practice, just as you can drive seamlessly without conscious analysis, you’ll adjust these settings intuitively to capture those fleeting moments with your child.

Here’s my personal approach for achieving the perfect exposure outdoors during daytime conditions:
1. Starting with ISO:
In good daylight, I set my ISO to the lowest sensitive setting, typically between 100 and 200. This range takes full advantage of natural light, reduces grain, and provides the highest image quality, serving as a foundation for adjusting the other settings.
2. Adjusting the Aperture:
Next, I focus on aperture. If I’m aiming for a portrait with a soft, blurred background, highlighting those candid expressions, I use a wide aperture. On my Sony 24-70mm G Master II, I set it to f/2.8, and on my FUJIFILM X100V, I use f/2.0. However, for shots where I want more clarity and focus across the entire scene, perhaps during a family activity, I opt for a narrower aperture around f/4.0 or f/5.6. This setting ensures a deeper depth of field, keeping more details in focus.
3. Perfecting with Shutter Speed:
Finally, I adjust the shutter speed to control the overall exposure. The beauty of mirrorless cameras like the ones I use is the ability to preview your exposure in real-time. If the image appears too bright, I increase the shutter speed, which reduces the amount of light hitting the sensor, until the exposure looks balanced.
Understanding the Histogram
The histogram is an invaluable tool in this process. It’s a graphical representation of the light levels in your photos.

Here’s how to read it:
- Peaks towards the left: Your image may be underexposed (too dark).
- Peaks towards the right: It may be overexposed (too bright).
- Even spread from left to right: Generally indicates a well-exposed photo.
I rely on the histogram to avoid losing detail in bright highlights or dark shadows. If the graph clusters at either extreme, I know I need to adjust my settings.

By starting with the lowest ISO, choosing an aperture based on the depth of field I want, and then finally adjusting the shutter speed for the perfect exposure, I can capture beautiful, well-balanced photos of my child’s most memorable moments.
This method works for me because I’ve reached a point where these decisions are automatic, thanks to understanding each element’s impact and lots of practice. For those starting, it’s like driving a car using manual transmission; you have to think about every action. But over time, you’ll shift gears without a second thought.
For beginners, semi-automatic modes like Aperture Priority (A or Av) or Shutter Speed Priority (S or Tv) can be invaluable. They let you control one element while the camera handles the rest, easing you into how each change affects your image. It’s a bit like driving with an automatic transmission, helping you navigate as you learn the rules of the road.

However, I encourage you not to rely solely on automatic or semi-automatic modes. Once you’re comfortable, switch to manual mode. The freedom and creativity it affords are well worth the effort, and there’s nothing quite like the satisfaction of knowing you’re in the driver’s seat, creating stunning photos through your skill and vision.
Remember, every photographer’s journey is unique, and with patience and practice, you’ll develop a rhythm that suits your style, ensuring you never miss a beat in capturing those precious childhood moments.
Best Camera Settings for Child Photos: Final Words
In the vibrant world of child photography, understanding the interplay between ISO, Aperture, and Shutter Speed is key to capturing those fleeting moments that tug at our heartstrings. This guide has equipped you with the know-how to navigate these technical aspects.
But beyond the technical, remember that photography is a journey of growth. Each shot taken is an opportunity to learn, leading you closer to that instinctive click that captures the perfect blend of light, focus, and motion.
As you progress, you’ll transition from the calculated settings of semi-automatic modes to the creative freedom of manual mode, crafting not just photos, but memories etched in time. So, embrace the learning curve, cherish the process, and keep capturing the joyous, unscripted moments of childhood.