

Do you want to know how I have significantly improved my portrait photography skills with one simple photo exercise?
Continue reading and you’ll learn how to you can improve your portrait photography skills in a short period of time!
Simple Portrait Photography Exercise
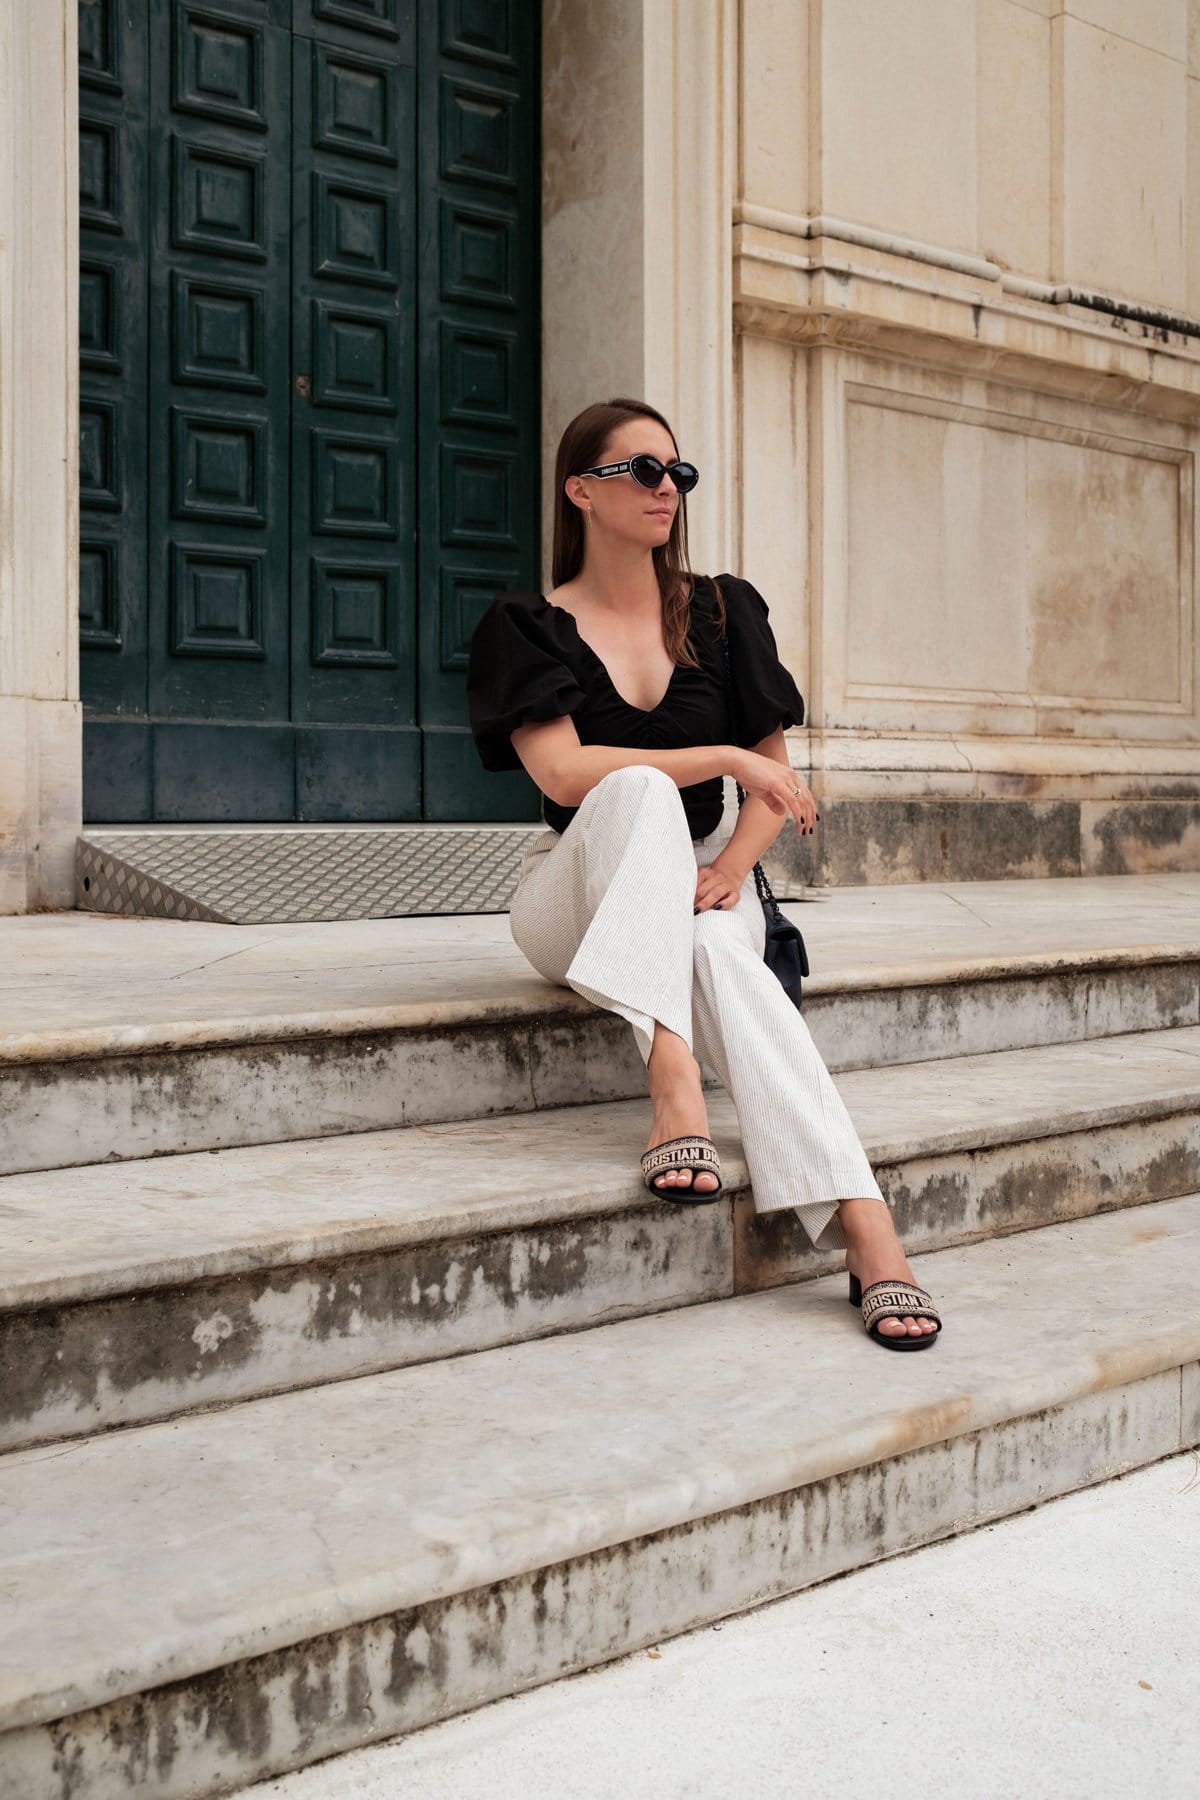
The principle of this exercise is very simple: you need to shoot at least 50 portraits in black and white with one camera, one lens, one focal length, one model, one day, and with natural light.

The goal of this portrait photography exercise is to limit yourself only to the most essential elements so that you could focus on your photo composition, understanding of light, and interaction with your model rather than the settings of your camera.
Required Photography Equipment
For this photography exercise, you’ll need only one camera and one lens (preferably a fixed lens).
For APS-C Crop Sensor Cameras
If you have an APS-C crop sensor camera, I recommend using a fixed lens with a focal length in the range of 24mm – 50mm.
TIP: Not sure if you have an APS-C crop sensor or full-frame camera? Check out this article.
Free Lightroom Course for Parents. Create Natural, Professional Family Photos
Learn how to make your family photos bright, natural, and frame-worthy, even if you’re brand new to Lightroom.
On standard APS-C crop sensor cameras, the equivalent focal length on full-frame cameras is multiplied by 1.5.
For example, if you are shooting with a 35mm lens on an APS-C crop sensor camera, the focal length equivalent on a full-frame camera is 35mm * 1.5 = 52,5mm.
In my opinion, the two best focal lengths for portrait photography on an APS-C crop sensor camera are 35mm and 50 mm:
- A 35mm lens on an APS-C crop sensor camera is close to about 50mm lens on a full-frame camera, which is a very popular and versatile focal length for portrait photography and photography in general.
- A 50mm lens on an APS-C crop sensor camera is equivalent to a 75mm lens on a full frame, which in my opinion is a fantastic option for portrait photography.
Side note: I mostly shoot with my Fujifilm x100v mirrorless camera, which has a crop sensor with a 23mm fixed focal length, which is equivalent to a 35mm full-frame (34.5mm to be exact). It is my preferred focal length because it is suitable for travel, portrait, and street photography.

For Full-frame Cameras
If you have a full-frame camera, I recommend using a fixed lens with a focal length in the range of 50mm – 85mm.
- A 50mm lens on a full-frame camera is a very versatile focal length. It will allow you to shoot portrait headshots as well as more environmental portraits or portraits that show a lot more of the scene that your subject is in.
- An 85mm lens on a full-frame camera is a very popular portrait photography lens as it makes your portrait subject stand out from the background and provides some nice compression, making it perfect for headshots or portrait shots with a shallow depth of field.
But What if You Only Have a Zoom Lens?
If you don’t have a suitable prime lens, you can use a zoom lens too.
However, I highly recommend setting yourself creative limitations by keeping your zoom lens at a single focal length by using a masking tape.

Why Bother?
By keeping your zoom lens at a single focal length, you will be forced to physically move around to compose your portrait shots and there will be one less thing to think about in terms of camera settings.
Plus, my personal experience shows that having a restriction to only one focal length actually boosts creativity when it comes to photography.
It can be difficult to put your finger on how this works, but ever since I switched from my Sony A7III with a Tamron 28-75mm f/2.8 lens to my Fujifilm x100v with a fixed 35mm equivalent lens, the quality of my photos improved significantly in a short period of time.
Below are some of the photos I took with my FUJIFILM x100v during my trip to Amalfi Coast in Italy.
Camera Settings
First of all, shoot in RAW.
A RAW is a lossless photo format, meaning that it captures uncompressed data from your camera sensor. It gives more creative freedom when it comes to editing photos, as it allows changing settings such as color temperature, exposure, white balance, and contrast without losing quality.

As I mentioned at the beginning of this post, I recommend setting your camera profile to monochrome.
Most modern mirrorless cameras have a monochrome mode which allows you to preview your photos in black and white color before taking a photo.
Not Sure How to Set Your Camera to Monochrome?
Manual Mode

- ISO: When shooting portraits outdoors in good lighting conditions, it’s best to set the ISO to its minimum base level (usually around 100).
- Aperture: Your aperture settings will depend on whether you want a blurry background or sharper details. For a blurred background, choose the lowest value your lens supports (e.g. f/1.4, f/2, f/2.8). For maximum focus, select f/5.6 or higher.
- Shutter Speed: After selecting the ISO and Aperture values, use shutter speed to control exposure by increasing or decreasing it accordingly. Avoid going below 1/100s for portrait photos to avoid blurring them.
If you’d like to learn more about ISO, Aperture, and Shutter Speed and how these individual parameters work together, I recommend reading my dedicated articles on the subject:
Aperture Priority
If you don’t feel too comfortable with full manual mode, I recommend using Aperture Priority instead.
To set the shutter speed setting in this mode, look for the “A” or “Av” mode on your camera’s mode dial.

This mode allows you to select a desired aperture value and then the camera will automatically adjust the shutter speed for proper exposure.
For portrait photography, I recommend keeping the aperture value between f/2.8 and f/5.6 for a good balance of background blur and details in portrait shots.
If you want to achieve the maximum background and subject separation, set your aperture value to the minimum possible value that your lens supports (e.g. f/1.4, f/2).
Photo Exercise Preparation
Before jumping into this simple portrait photography exercise, I recommend you spend a bit of your time planning and preparing for the photoshoot. Here are a few recommendations:
Finding a Model
I recommend doing this photo exercise with someone you know well. This will make you feel more comfortable and you will be able to relax and take better photos. If you have a partner or a family member who is willing to do this portrait photography exercise with you, that’s even better.
However, if none of your relatives want to participate, you can always utilize Instagram or Facebook to search for models who are looking for portrait photography opportunities for their modeling portfolios.
For example, if you live in New York, just type in #newyorkmodels. Alternatively, you can make a post on your social media channels, and most likely some of your friends will be willing to help you out.
Model’s Outfit
For this portrait photography exercise, ask your model not to wear clothes with too many patterns as they may look too distracting in the final photos.
The color of the clothes in this particular case doesn’t really matter since you will be shooting in black and white.
However, since you will be shooting in RAW, you will always be able to see the color version of your photos in post-production.
So, if you or your model would like to receive the color version of your photos, it is important to pay attention to the clothing colors. Ask your model not to use overly bright colors, as they can be quite distracting.
Sharpen Your Photography Skills in One Afternoon
Download my free guide with 10 expert techniques that took me years to master. You’ll discover the simple shifts that separate amateur shots from frame-worthy photos.
Join 300+ photographers already leveling up their skills
Posing Ideas
If you will be taking photos of your friend or a family member, chances are that they aren’t professional models. Thus, I highly suggest you familiarize yourself with some of the portrait photography posing tips.
This way, you will be able to provide some guidance and pose ideas for your model, making them feel more relaxed and natural.
Also, don’t forget to work with your model’s facial expressions. Facial expression is one of the most important portrait photography elements.
I highly recommend you watch these two short videos on how to pose your model during a photo shoot:
Choosing the Right Location
Look for a place with good natural light and little to no distractions in the background such as power lines or busy streets.
Parks, gardens, abandoned buildings, etc., are all good locations for this portrait photography exercise.
You can even make use of indoor locations such as libraries, coffee shops, and university campuses to add different backdrops.
I prepared a Pinterest mood board with various location ideas for a portrait photography session to get your creative juices flowing:

Also, here’s a great video from Julia Trotti on how to find photo shoot locations everywhere:
Choosing The Best Time of The Day for a Photo Shoot
If you are planning on shooting portrait photography outside, I recommend doing it either at the beginning or the end of the day.
This is when you have a beautiful soft light that helps create more flattering photos.
Obviously, this will also depend on the weather conditions and how long your portrait photoshoot will take place.
So, make sure to check the weather forecast and plan ahead! The last thing you want is an unexpected rain shower ruining your portrait photography session.
Related reading: From Sunrise to Sunset: Natural Light Portrait Photography Guide
Create a Mood Board for Your Upcoming Photo Shoot
The final thing I recommend you do before the photo shoot is to prepare a mood board for your upcoming photo shoot.
I recommend using Pinterest for photo shoot mood boards. It is the perfect tool for this job and there are tons of amazing photo shoot ideas on Pinterest that you can use to replicate in your own work.
This will also make it easier for you to reference the ideas during the portrait photography session and make it more efficient.
Once you have your board ready, share it with your model ahead of time so they know what kind of portrait photos to expect from you.
The Photo Shoot
Below are a few recommendations to keep in mind during this simple photo exercise:
- Don’t overcomplicate things. The idea of this portrait exercise is to take a lot of photos and experiment with different techniques. Take as many photos as you can and don’t worry too much about them being perfect. Try different angles and perspectives. Try different composition techniques.
- Communicate with your model. It is essential to communicate with your model during a photo shoot. This will help your model feel more relaxed and natural. Try to make some jokes during the process and praise your model during the process.
- Pay attention to the background. Try to keep your portrait photography backgrounds as simple and clean as possible to eliminate distractions.
- Try to find interesting light. Lighting in photography is everything, and it can either make or break your photo. You can take beautiful and creative photos even in the most boring locations if the lighting is right. Check out the video below to see how I took an awesome photo in a very standard location by utilizing the shadow on the wall:
Frequently Asked Questions
How Should a Beginner Practice Portrait Photography?
There’s only one way for a beginner to practice portrait photography – to take portrait photos.
There’s no other way around it, you need to take a lot of portrait photos to improve your portrait photography skills.
However, there’s one thing you can do (other than taking photos) that can have a positive effect on your portrait photography skills – you can study composition techniques by either reviewing photos of your favourite photographers, watching YouTube videos, or reading a book about various composition techniques.
If you are interested in the latter one, here are a few book recommendations on the subject of photo composition:
How Can I Practice Portrait Photography Daily?
In my opinion, the best way to practice portrait photography on a daily basis is to get yourself a compact digital camera that you can take with you every single day and take street-style photos of strangers during your commute to school, university, or work.
For example, I have a FUJIFILM x100v compact mirrorless camera, that I carry in my backpack every single day. Oftentimes I take photos of my colleagues at work and use these photos on the social media profiles of the company I work for.

Another great way to practice portrait photography daily is to go for a walk with your friend or a family member and take photos of them during the walk.
You can also join portrait photography communities and participate in portrait photography projects such as portrait exchanges, portrait challenges, and portrait experiments.
Finally, if you want to take your portrait photography skills to the next level, you can always look for portrait photography opportunities online or offline. There are plenty of websites and apps that offer portrait photography opportunities such as portrait gigs, portrait contests, portrait exhibitions, and portrait workshops.
How Can I Practice Portrait Photography at Home?
You can ask your family or friends if they would like to participate in a portrait photography project. You can also use your pet as the model for your portrait photography project.
You don’t even need a portrait studio set up at home. You can take portrait photos in any place in your house or garden. Make sure to use the available light sources and play with shadows and reflections to create interesting portrait photos.
Don’t forget to experiment with different angles, perspectives, and poses when taking portrait photos at home.
How Can I Practice Portrait Photography Without a Model?
You don’t need a model to practice portrait photography.
You can practice portrait photography by taking portrait photos of yourself. Self-portraits are also great for developing a strong personal style in portrait photography.
If you are interested to learn more about self-portraits, I highly recommend you watch the following video from Sorelle Amore:
Conclusion
So that’s it – a simple portrait photography exercise that will help you practice your portrait skills and improve them in no time.
I hope that you found this blog post interesting and useful.