

Have you ever found yourself in a low-light situation, wishing you could capture a great shot without knowing how?
I have been there too. I believe this is where understanding manual mode can indeed come into play so that it can make your low-light photography game even better.
Through this article, I will share tips on shooting in low light and leveraging manual mode and other techniques to your advantage.
In This Article You Will Learn:
What Is Low-Light Photography?
In photography, videography, and other similar fields, “low light” is a term used to describe situations where the available natural or artificial light is not adequate for optimal exposure.
This can often create unique visual effects but also presents technical challenges.
Thus, you’ll get to adjust your low-light photography settings to capture the scene best.

What Are the Different Types of Low Light?
Twilight/Dusk/Dawn
This is the time around sunrise and sunset when the sun is just below the horizon, creating soft, diffused light.
This period can be further divided into civil, nautical, and astronomical twilight, each providing different degrees of light and color effects.

Blue Hour/Golden Hour
These are specific periods of twilight. The Golden Hour is just after sunrise or before sunset when the light is warmer and softer. Blue hour typically refers to the period of twilight where the sun is far enough below the horizon that the light takes on a predominantly blue hue.

Nighttime
This is when the sun is entirely below the horizon, and moonlight, starlight, or artificial lights are the primary sources of illumination.

Indoor Low Light
These are conditions inside buildings or other structures with minimal natural light. Examples include a dimly lit restaurant or a room with few windows.

Shadowed Areas
Even during a bright day, areas in shadow, such as under a tree or in an alley between buildings, can be considered low-light conditions.

Weather Conditions
Overcast days, heavy fog, or other weather conditions can also create low-light situations.
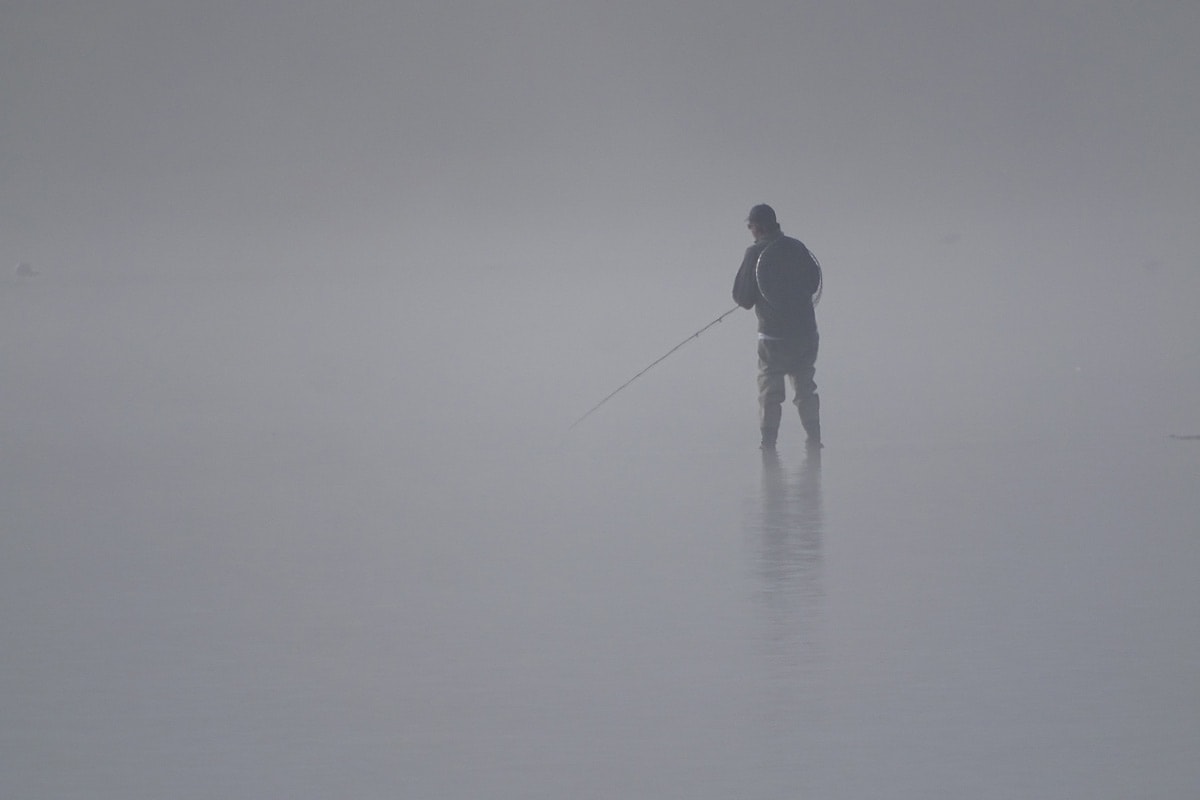
Each type of low light provides different challenges and opportunities.
For instance, the soft light of twilight often creates dramatic, colorful skies, but adequately exposing subjects in the foreground can be challenging.
Nighttime shots require long exposures or high ISO settings to capture enough light, leading to potential image noise or blur issues.
Sharpen Your Photography Skills in One Afternoon
Download my free guide with 10 expert techniques that took me years to master. You’ll discover the simple shifts that separate amateur shots from frame-worthy photos.
Join 300+ photographers already leveling up their skills
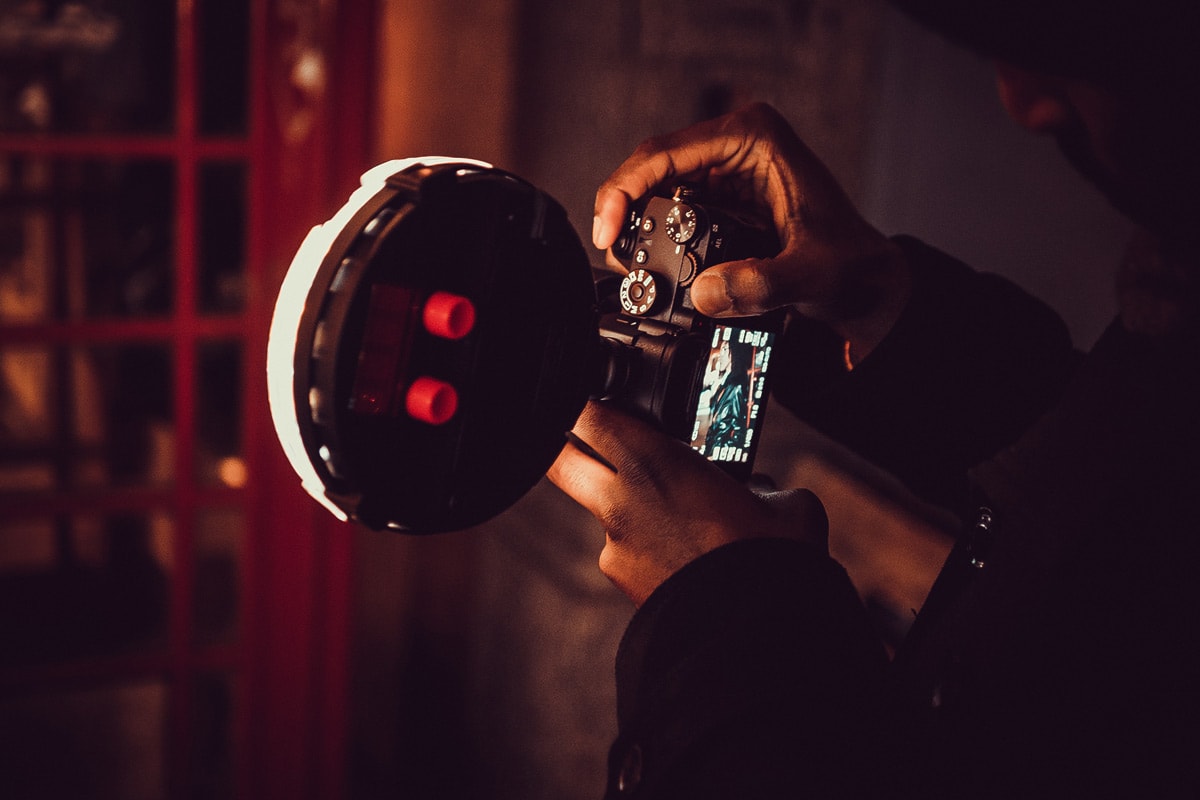
The Magic of Manual Mode in Low-Light Situations
As photographers, we often rely on our cameras’ Auto modes. But when it comes to how to shoot in low light, I have found that the manual mode can make a significant difference. It gives you complete control over your camera settings, enabling you to capture beautifully lit images even in dimmed conditions.
Understanding the Exposure Triangle

First, we must understand the Exposure Triangle – a concept central to photography. This consists of three main elements: ISO, aperture, and shutter speed.
- ISO: This controls your camera’s sensitivity to light. A higher ISO will make your camera more sensitive, allowing it to capture more light. However, it’s essential to be careful with increasing ISO as it can lead to grainy images.
- Aperture: This refers to the size of the lens opening, which determines how much light enters your camera. A larger aperture (smaller f-number) lets in more light, which is useful in low-light situations.
- Shutter Speed: This is how long your camera’s sensor is exposed to light. A longer shutter speed means more light and can be used creatively to capture motion blur.
PRO TIPS: Learning to balance these three elements will enable you to capture stunning low-light images.
A tripod can be a lifesaver when shooting in low light. It allows you to use slower shutter speeds without worrying about camera shake.
Low Light Photography Tips and Tricks

- Shoot with a low ISO: ISO controls the camera’s sensor sensitivity to light. It might be tempting to increase ISO in low light conditions, but this can result in more noise or grain in your photos. Instead, try to keep ISO as low as possible and adjust the aperture and shutter speed for better exposure without graininess.
- Use a wide aperture: The aperture of a lens refers to the size of the hole through which light enters the camera. A wider aperture (lower f-stop number) allows more light to enter, which is crucial in low-light conditions. Lenses with wide apertures, such as f/1.8 or f/1.4, are often called “fast” lenses and are ideal for low-light photography.

- Reduce your shutter speed: Shutter speed determines how long the camera’s shutter remains open to allow light to reach the sensor. By reducing (slowing) the shutter speed, more light will be allowed in. However, be aware that slower shutter speeds can result in motion blur if the camera or subject moves, so use a tripod or other form of stabilization to mitigate this.
- Shoot in RAW format: RAW files contain more information and detail than JPEGs, making them more post-processing flexible. Especially in low-light situations, RAW allows you to adjust exposure, white balance, and noise reduction more effectively without losing image quality.
- Use external lights: You should introduce some external light sources in shallow light situations. This could be a flash (on or off-camera), LED panels, or other artificial lights. Be mindful of the direction and harshness of the light to avoid overexposing parts of your image or creating unflattering shadows.
- Focus on stabilization: Stability is crucial when shooting in low light to avoid camera shake, especially if you use slower shutter speeds. This could mean stabilizing the camera using a tripod, monopod, or other surfaces. Some cameras and lenses also have built-in stabilization systems. Techniques like holding your breath as you shoot and tucking your elbows into your body can also help stabilize handheld shots.
- Use a fast lens: A fast lens has a wide maximum aperture (small f-number), such as f/1.4, f/1.8, or f/2.0. These lenses allow more light to hit the sensor in a shorter time, reducing the need for slow shutter speeds or high ISO settings.

- Post-process an underexposed image: Even with careful settings adjustments, some low-light photos might end up underexposed. Using post-processing software like Adobe Lightroom or Photoshop, you can increase the exposure, adjust the shadows and highlights, and apply noise reduction to enhance these underexposed images.
Advanced Techniques to Master Low Light Photography
In addition to the basics, here are some advanced techniques that I suggest for shooting in low light:
Check Autofocus in Low Light
The reduced light levels make it challenging for the autofocus mechanism in a camera to distinguish the subject or scene’s details and contours – especially when shooting in low light without flash. Luckily, there are ways around this:
Consider using a flashlight or another light source to temporarily illuminate the subject while your camera acquires focus lock. Once the focus is locked, switch off the light source and take the shot.
Some cameras also offer an ‘AF assist beam’ feature, which works similarly. Another method involves switching to manual focus.
Use your camera’s Live View mode to zoom in on the subject on your LCD screen, then adjust the focus manually until the subject looks sharp.
Chase The Light
Low light doesn’t mean any light at all. Look for available sources of light that could help illuminate your subject.
The most well-known situation is shooting at the “golden hour,” just after sunrise or before sunset, which can provide beautifully soft and warm light.
The art of low-light photography often lies in creatively using available light sources. It’s all about identifying, positioning, and exploiting these sources effectively.
Street lamps, for instance, can cast dramatic shadows and highlight exciting textures:

Neon signs can infuse a scene with vibrant color, creating a stark contrast against the darkness.
And the moon, a natural light source, can bathe landscapes in an ethereal glow, making for an incredibly atmospheric shot. Photographing silhouettes against a moonlit sky can result in truly stunning images.
Creative Ways to Shoot in Low Light
Use Grain to Your Advantage
Shooting in low light often involves noise or ‘grain’ challenges in your images. While grain can sometimes degrade the quality of a photo, it can also add texture and an artistic, vintage feel to images when appropriately utilized.
This is a perfect example of turning a potential disadvantage into a creative advantage. Let’s delve into some insightful tips and examples:
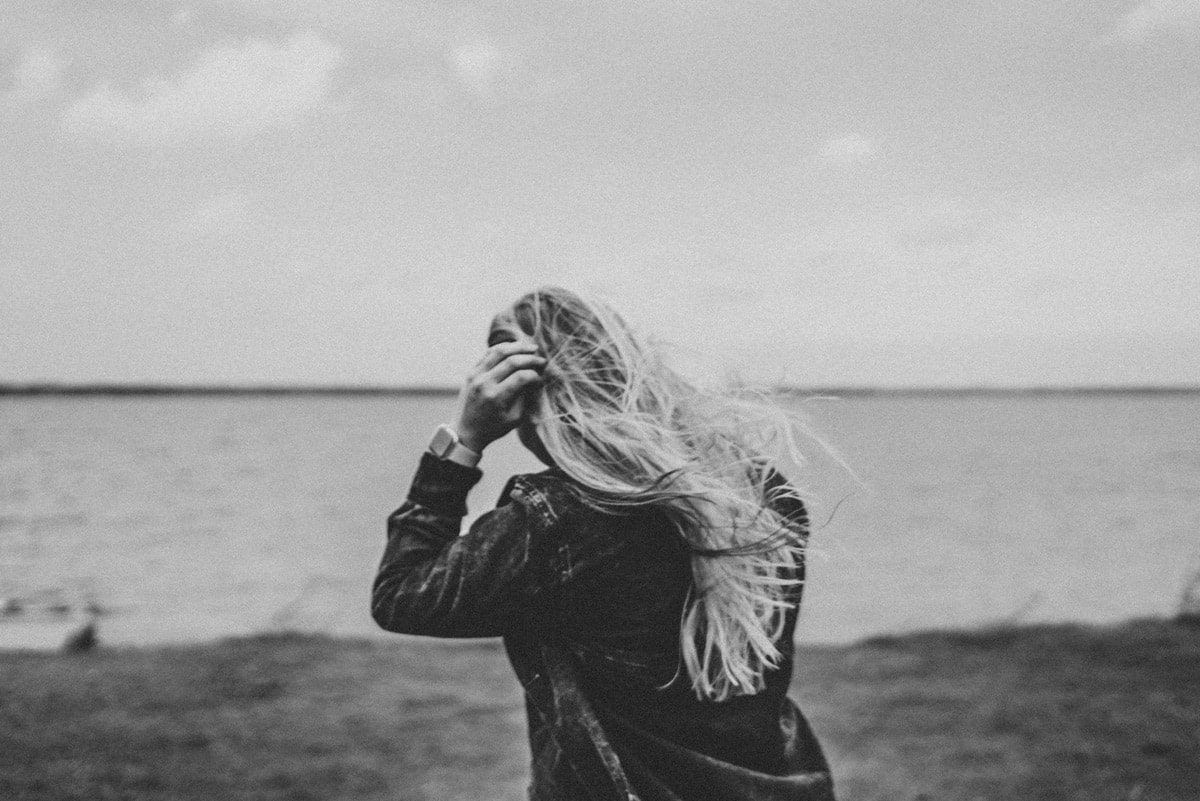
Intentional Aesthetic Choice
Grain can lend your images an evocative, raw, and nostalgic quality. Consider black and white photography, where grain can add drama and a timeless feel.
Think of classic street photography or portraits by photographers like Robert Frank or Daido Moriyama, who often utilized grain to enhance the expressive power of their images.

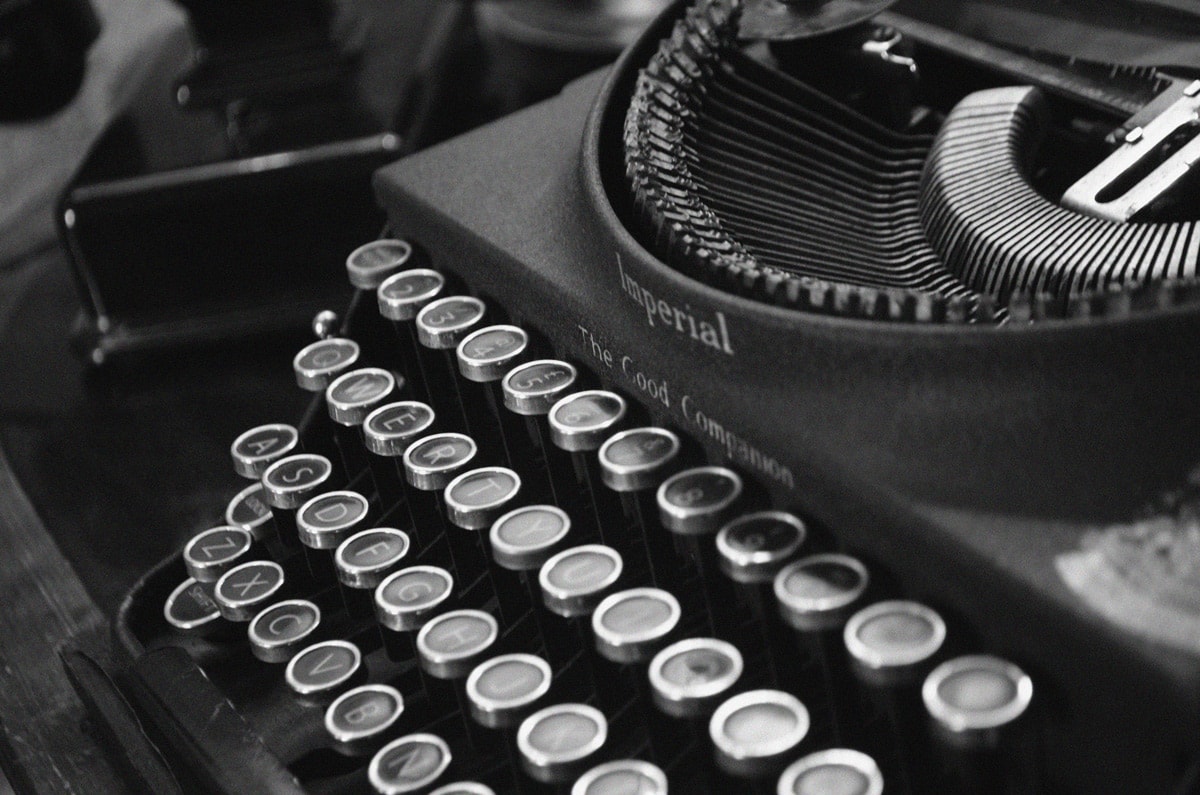
Highlight Textures
The textured quality of grain can emphasize certain textures in your images. For instance, in a close-up shot of an old, weathered building, the grain can accentuate the rough, tactile quality of the peeling paint or brickwork.
Grain as a Narrative Tool
Grain can be a powerful storytelling tool. It can help convey a sense of grittiness, authenticity, or realism. For example, grain can help convey the dim, hazy atmosphere and the sense of life unfolding unvarnished in a documentary-style photo of a late-night diner scene.
Abstract Photography
Grain can help create abstract images that focus more on shapes, light, and shadow rather than specific details. You can create images that play with perception and ambiguity by shooting in low light and allowing the grain to blur and distort the finer details.
Enhancing Mood
In low-light scenes, especially ones with a single light source (like a candle or a streetlamp), grain can help enhance mood. It can add a sense of softness, intimacy, or mystery to the scene.

NOTE: The key is intentionality. By consciously deciding to use grain to your advantage and by understanding how it can enhance your images in specific ways, you can turn this common low-light ‘problem’ into a creative boon.
Light Trails and Light Painting Photography
Light painting involves using a mobile light source while taking a long exposure photograph to illuminate a subject or space or to shine the light directly into the camera to ‘draw’ a picture or design. Light trails are also paintings commonly achieved with vehicle lights in a city setting or stars in a clear night sky.

Here’s How You Can Make Light Doodles:
- Set up your camera on a tripod in a dark or dimly lit room. A wide-angle lens is typically used to capture more of the scene.
- Set your camera to manual mode. Use a low ISO (100-200) to reduce noise, a small aperture (f/8 to f/16) for sharpness, and a long shutter speed (5-30 seconds or more). You should experiment to find the best settings.
- Use a torch, LED light, or smartphone screen as your light source. If you want a colored effect, you can cover your light source with colored gels or transparent colored plastic sheets.
- Trigger your camera with a remote shutter release or a timer and then ‘paint’ or ‘draw’ with your light source in the frame. You can write words, create patterns, or wave the light for an abstract image.
- For more complexity, you can light-paint subjects in your frame. For example, you could use a flashlight to carefully illuminate a tree in a night landscape or a person in a portrait. The effect can be dramatic and ghostly.
Free Lightroom Course for Parents. Create Natural, Professional Family Photos
Learn how to make your family photos bright, natural, and frame-worthy, even if you’re brand new to Lightroom.
FAQs
What Are the Disadvantages of Low-Light Shooting?
Low-light photography presents several challenges, such as:
- Increased noise: Amplifying ISO to balance low light boosts digital noise, leading to grainy images.
- Focusing issues: Low contrast in low-light conditions hampers autofocus, causing focus inaccuracies.
- Motion blur: Longer shutter speeds for more light intake risk motion blur if the subject or camera moves.
- Poor image quality: Less light results in less sensor information, compromising detail and color.
- Limited depth of field: A wider aperture for more light reduces the depth of field, posing focus challenges and limiting creativity.
How Do You Prevent Grain in Low Light?
Grain is generally a result of high ISO settings, so the first step is to try and keep your ISO as low as possible. This can be done using a lens with a larger maximum aperture (lower f-number) or a tripod and slow shutter speed to let in more light.
In situations where you can’t avoid using a high ISO, software tools such as Adobe Lightroom or Capture One can help reduce noise. Many of these are powered by AI (artificial intelligence), and they can intelligently recognize and reduce noise without excessively softening the image.
What ISO Is Good for Low Light?
The best setting for low-light photography conditions depends mainly on your camera’s sensor and its performance at high ISO levels.
Higher-end cameras can often handle 3200, 6400, or higher ISO settings with acceptable noise levels. However, you might start seeing significant noise at ISO 1600 or even 800 for many consumer-grade cameras.
Generally, it’s best to use the lowest ISO to capture the image with your desired combination of shutter speed and aperture. Remember, every camera is different, so experiment with yours to see where your comfort level is with noise.
How to Take Photos in Low Light Conditions: Conclusion
“In the right light, at the right time, everything is extraordinary.” – Aaron Rose.
Remember to check other articles on the OhMyCamera blog for tips and guides on improving your photography skills. Happy shooting!
Related articles: