


Before my son Nikita came into the world, my photography skills were limited to casual iPhone snaps. Lighting, composition, color psychology, and photo editing were all foreign concepts to me.
But Nikita’s birth shifted my perspective. I wanted to chronicle his life, and freeze moments in time that my wife and I could revisit. So, I took the plunge and bought my first real camera. While I quickly grasped the theory behind photography, putting it into practice was another story.
If you’re a new parent keen on capturing your child’s life through a lens, you’re in the right place.
In this article, we’ll delve into the top 7 mistakes parents commonly make when photographing their own kids, and how to sidestep them for frame-worthy shots.
Ah, natural light—a photographer’s best friend and sometimes their biggest hurdle. When Nikita was a newborn, I thought the flash on my camera was a revelation. I mean, it lights up the room, right? Wrong. Using flash tends to overexpose your baby’s delicate features and cast harsh shadows, making for less flattering images.
The truth is, nothing beats the glow of natural light. After a few overexposed blunders, I quickly understood the power of window light and open shade. Utilizing natural light helps maintain the skin’s natural color, highlighting the beautiful softness of a child’s face.
Aim to capture your child in settings where the natural light enhances the mood, like a golden hour just before sunset or the soft morning light streaming through a window.
Learn how to make your family photos bright, natural, and frame-worthy, even if you’re brand new to Lightroom.
I get it, auto mode seems like the easiest route when you’re still learning the ropes. My first shots of Nikita were all in auto mode. At first glance, they seemed okay. However, I later realized the colors were off, the focus wasn’t right, and I had zero control over the depth of field.
Mastering the manual settings of your camera unlocks a world of creative possibilities. You can control the aperture for those dreamy blurred backgrounds or adjust the shutter speed to freeze motion. Think of auto mode as training wheels; useful at the start but limiting as you progress.
As the saying goes, “The best camera is the one you know how to use.” Invest time to understand your camera’s manual settings. This knowledge allows you to adapt to different lighting conditions and capture moments just as you envision them.
Related Article: 6 Reasons Why You Should Ditch Auto Mode on Your Camera
Composition is more than just ‘what fits in the frame.’ In the early days, I’d snap away at Nikita without giving much thought to the background or the angle. Big mistake. Cluttered backgrounds and awkward angles can distract from your child’s face and expression, which should be the focal point of the photo.
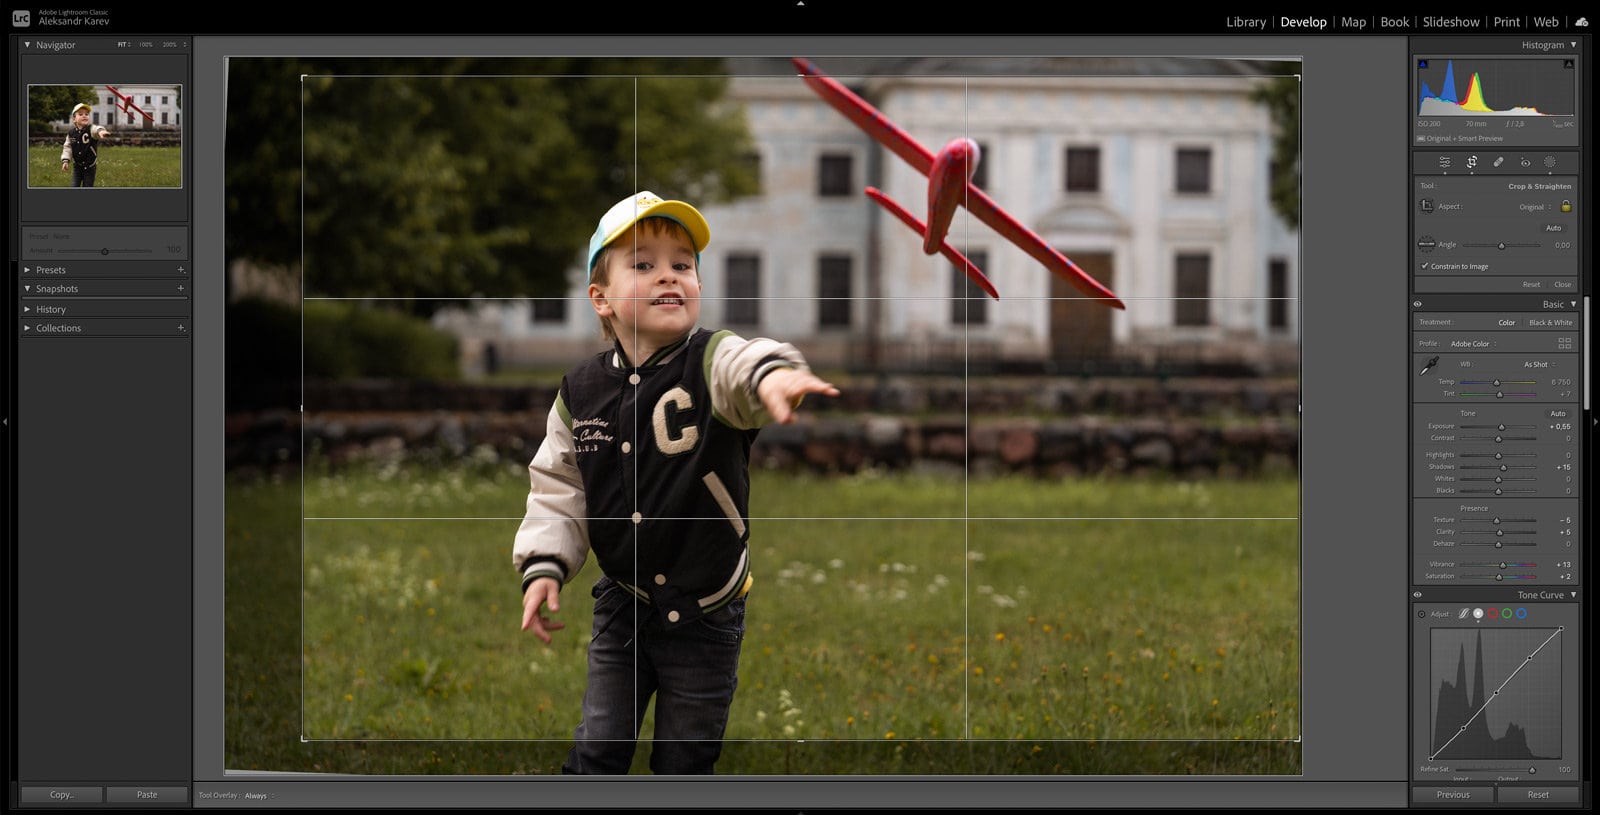
One thing I learned is the Rule of Thirds, a principle that helps position your subject in a way that’s visually appealing. By placing Nikita along these ‘third lines,’ I found the pictures had a more balanced and engaging composition.
Sidenote: Notice how I cropped the photo in Adobe Lightroom so that Nikita is positioned along the left vertical line. This makes the photo look balanced and more interesting than if I had positioned Nikita right in the middle of the frame.
Henri Cartier-Bresson, a pioneer in street photography, once said, “Your first 10,000 photographs are your worst.” It’s a gentle reminder that mastering composition takes time and practice, but the results are worth the effort.
When it comes to photographing children, timing is everything. I remember trying to photograph Nikita during his cranky phases; the results were as you’d expect—not so great. The best photos come when your child is well-rested, happy, and naturally engaged.
This is not about staging moments but capturing them as they unfold. Be ready when your child first wakes up, after a meal, or during playtime. These are the moments when you can capture their genuine smiles and expressions.
“You don’t take a photograph, you make it,” said Ansel Adams. And timing is a huge part of that process. Being attentive to your child’s mood and daily rhythms helps you ‘make’ rather than just ‘take’ a photograph.
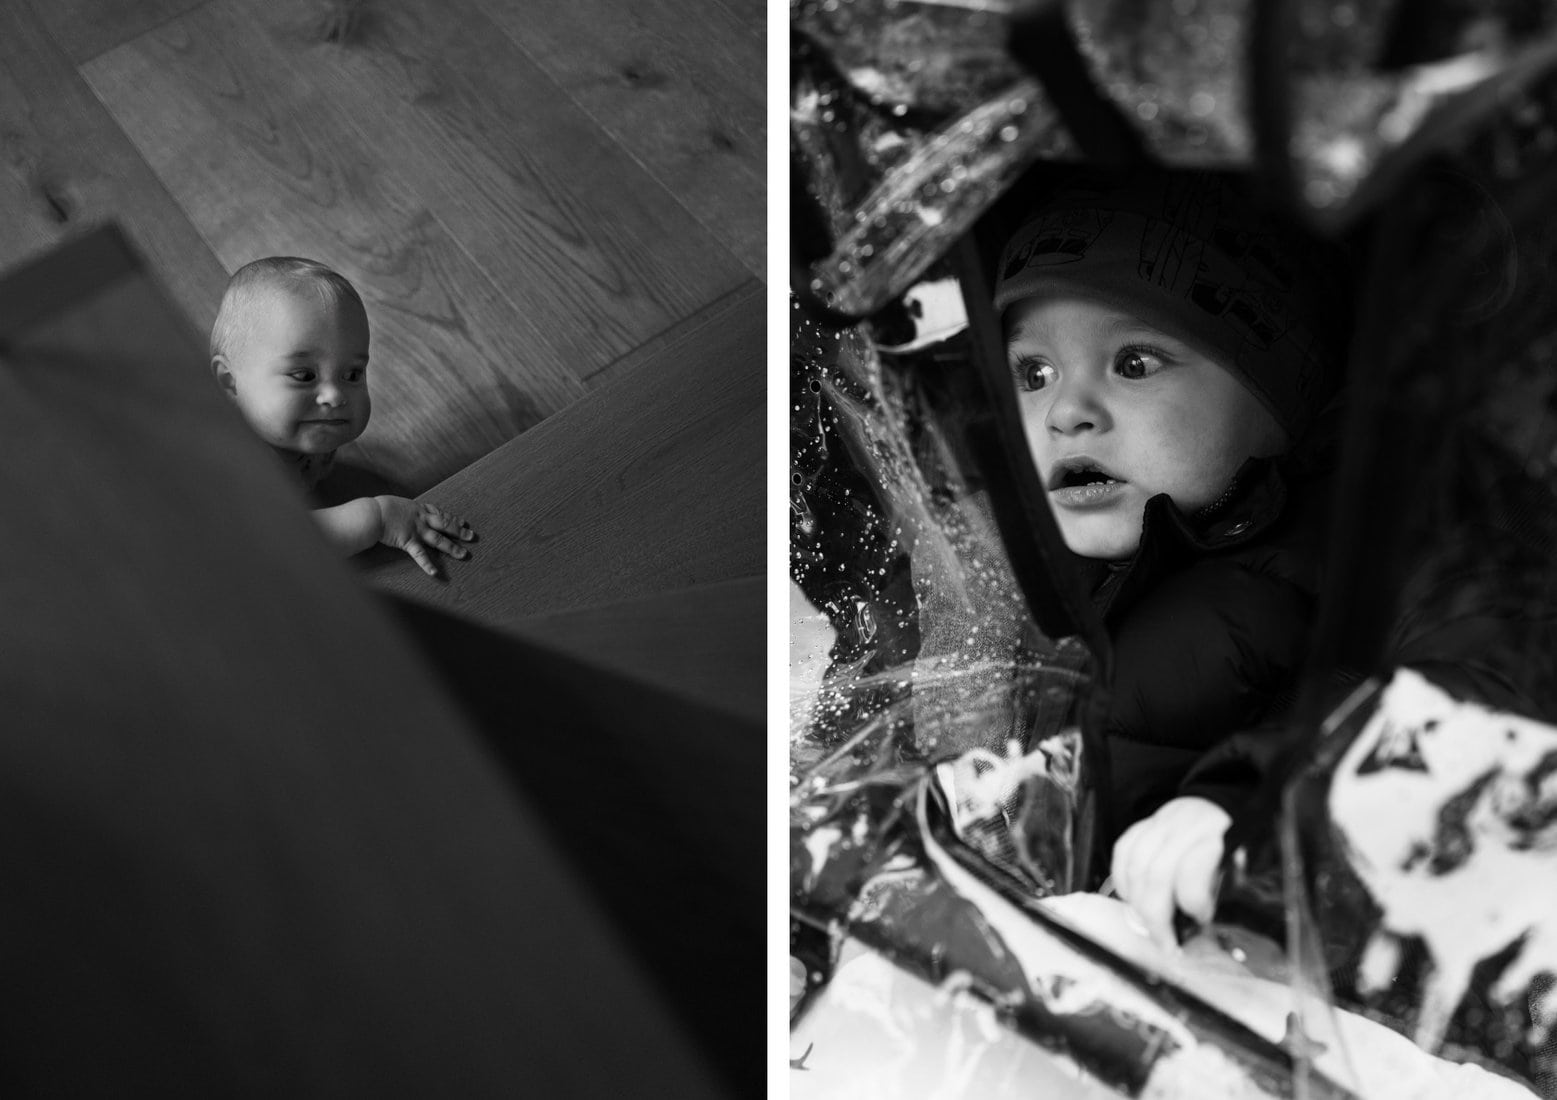
Photography, at its core, is an art form, and like any art, it thrives on experimentation. In the beginning, I stuck to what was comfortable: full-face shots of Nikita, mostly at eye level. It took me some time to realize the value in experimenting with angles, perspectives, and even post-processing techniques like filters and cropping.
I encourage you to get down to your child’s level or try shooting from above. These varied perspectives add a dynamic layer to your photos, making them more engaging and telling a fuller story of your child’s world.
Remember, every photograph you take tells a story. Early on, I’d crop pictures of Nikita inconsistently—sometimes cutting off feet, or worse, the top of his head. Such mistakes distract from the overall narrative you’re trying to convey.
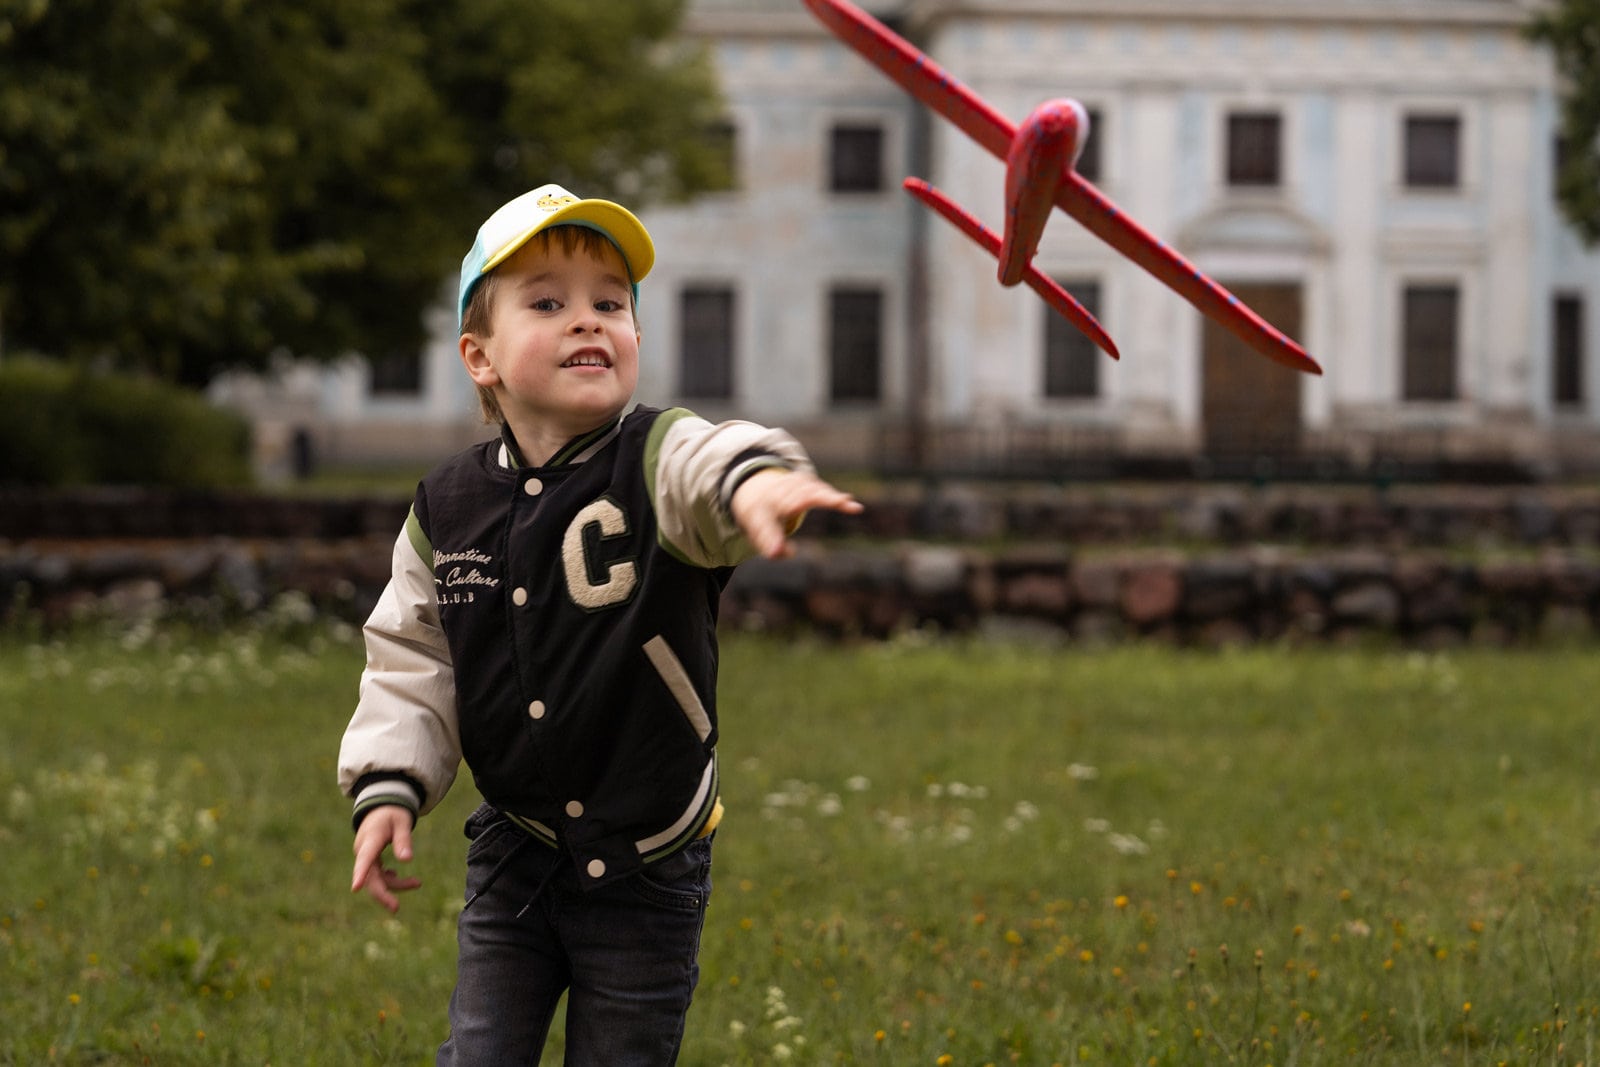
For instance, here’s a photo which would be so much better if I would capture more space in the lower part of the frame. I am not saying that it is a bad photo, it is pretty decent, but it would be a lot better if Nikitas hands and his toy would not be cut off.
Proper framing and thoughtful cropping can dramatically improve the impact of your photos. Make sure to include enough context but not so much that it overshadows your main subject. It’s about striking that delicate balance.
The shoot is just half the battle. In my initial days, I’d upload the raw files directly, believing the job was done. It wasn’t until I started experimenting with photo editing that I realized the real magic often happens post-shoot.
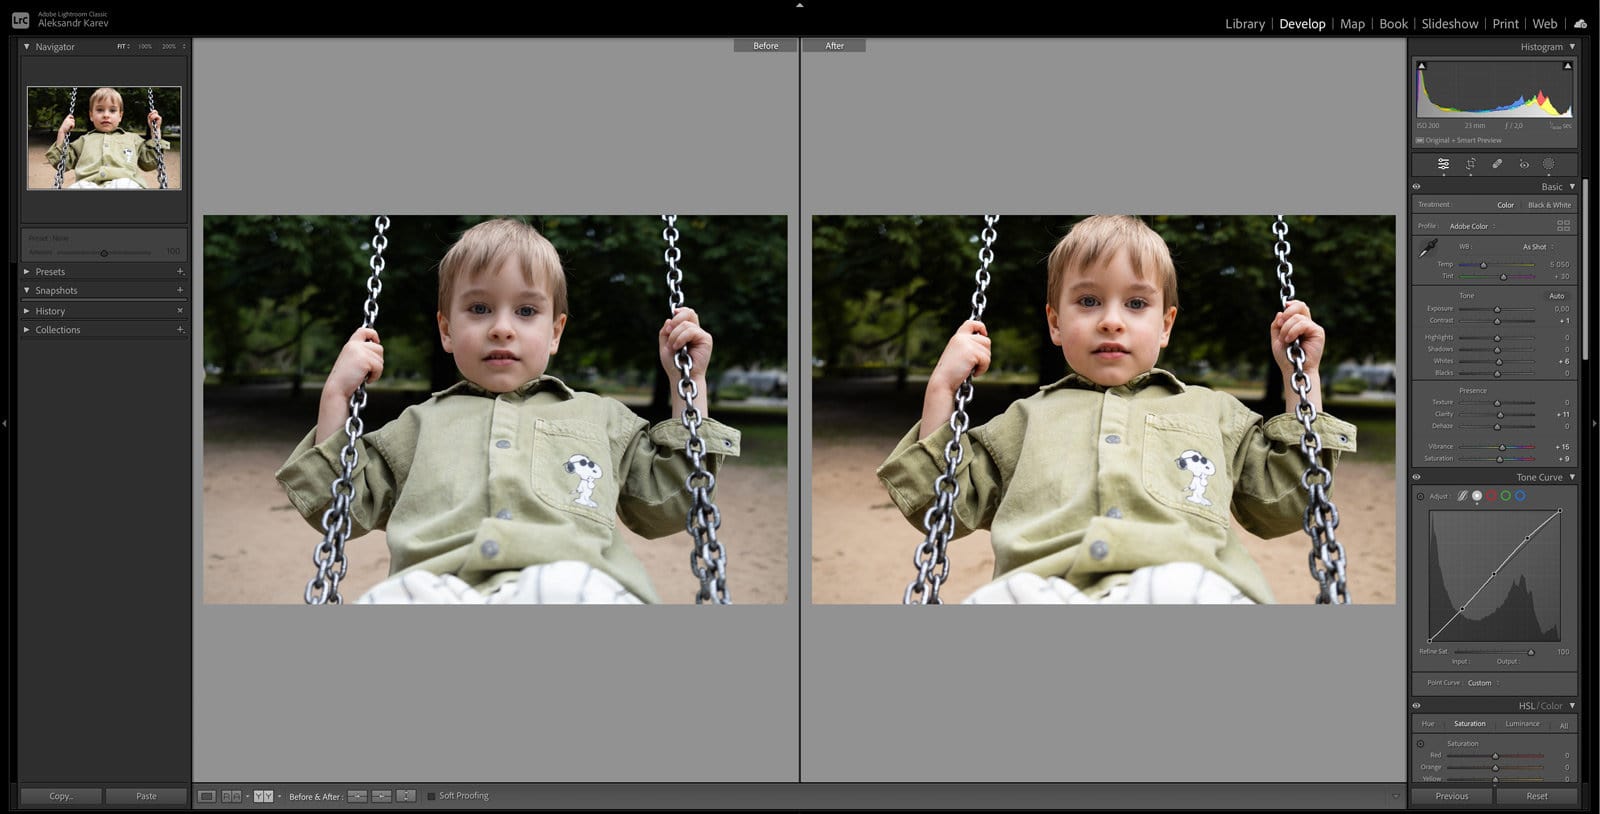
Here’s an example of a recent photo I took of Nikita. On the left side is the raw photo straight out of my Fujifilm X100V.
On the right side is the photo after I made some minor adjustments in post-production. I tweaked the Contrast, Clarity, Vibrance, and Saturation, and also applied an S-shaped curve to the Tone Curve settings. These minor adjustments made the photo look much more vibrant and dynamic.
You might think this is a lot of work for a single photo, but to be honest, it took me only about 2 minutes to apply these tweaks. As you can see, the photo looks significantly better.
Simple adjustments like brightness, contrast, and color balance can make a world of difference in the final output. More advanced techniques, like photo retouching and selective focus, can elevate your photos from good to great.
Navigating the world of child photography has been an enlightening journey for me, especially since the birth of my son, Nikita. We’ve explored the top 7 mistakes that new parents often make, and I hope these insights empower you to create not just photos, but lasting memories.
If you’re hungry for more tips, check out my recent articles on other essential aspects of family photography. The first, “8 Tips on Choosing a Camera for Kids and Family Photography,” will guide you in making an informed decision about your most crucial tool: the camera. The second article, “Capturing Candid Photos of Your Child: 7 Easy Tips & Examples,” delves into the art of capturing those priceless, unposed moments. Also, if you have or plan to purchase a Sony camera, I highly recommend you to check out this guide on the best Sony lenses for child and family photography.
Remember, each mistake you make is a stepping stone toward mastering this beautiful art form. As photographer Dorothea Lange aptly put it, “Photography takes an instant out of time, altering life by holding it still.”
So grab your camera, step out of auto mode, and start capturing. Your family’s story, told one frame at a time, is waiting to be written. Here’s to filling your albums with memories that will be cherished for generations.
| Cookie | Duration | Description |
|---|---|---|
| cookielawinfo-checkbox-analytics | 11 months | This cookie is set by GDPR Cookie Consent plugin. The cookie is used to store the user consent for the cookies in the category "Analytics". |
| cookielawinfo-checkbox-functional | 11 months | The cookie is set by GDPR cookie consent to record the user consent for the cookies in the category "Functional". |
| cookielawinfo-checkbox-necessary | 11 months | This cookie is set by GDPR Cookie Consent plugin. The cookies is used to store the user consent for the cookies in the category "Necessary". |
| cookielawinfo-checkbox-others | 11 months | This cookie is set by GDPR Cookie Consent plugin. The cookie is used to store the user consent for the cookies in the category "Other. |
| cookielawinfo-checkbox-performance | 11 months | This cookie is set by GDPR Cookie Consent plugin. The cookie is used to store the user consent for the cookies in the category "Performance". |
| viewed_cookie_policy | 11 months | The cookie is set by the GDPR Cookie Consent plugin and is used to store whether or not user has consented to the use of cookies. It does not store any personal data. |